Page 5 of 6
Posted: Sat Jan 06, 2018 8:16 pm
by Brett Wilkie
I managed to trip the car when I was sliding sideways around 50 to 60 MPH. I guess the tire might have been a bit low as the rim edge just caught the runway slab edge, that's all it took to send it on at least 3 or maybe 4 rolls. Normally it would just slide until the speed scrubbed off.
Posted: Tue Feb 20, 2018 8:56 am
by Langlia
Posted: Tue Feb 20, 2018 11:42 am
by Brett Wilkie
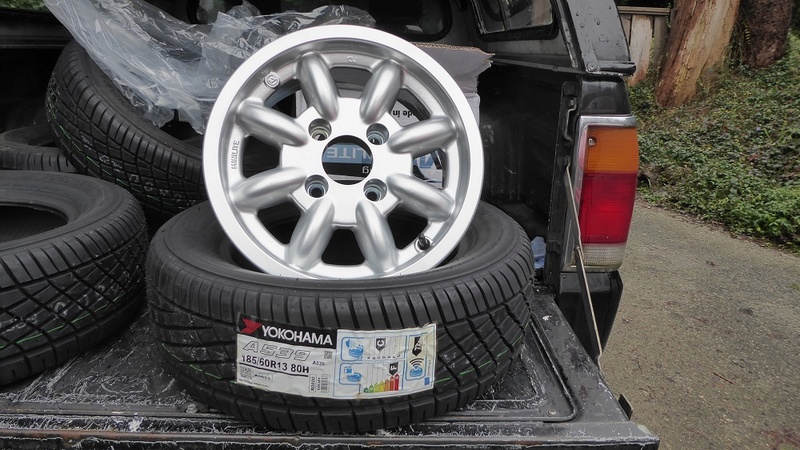
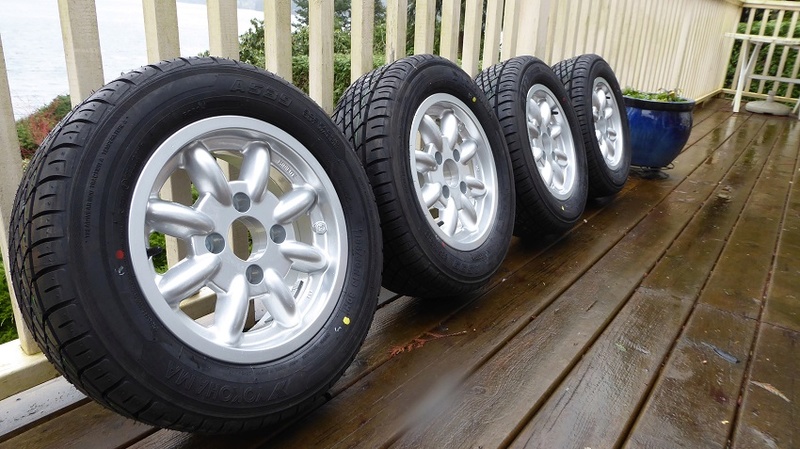
Looks like you got your wheels from the same place I got mine, what sort of rubber did you get and did you also get the rubber from JBW? When I ordered mine I found there was little to no decent 13 inch tires available in North America. I ended up getting these wheels and tires from them, I thought it was a reasonably priced deal. I have not yet installed them on my Anglia as my car is still in the build process.
Posted: Tue Feb 20, 2018 6:22 pm
by Langlia
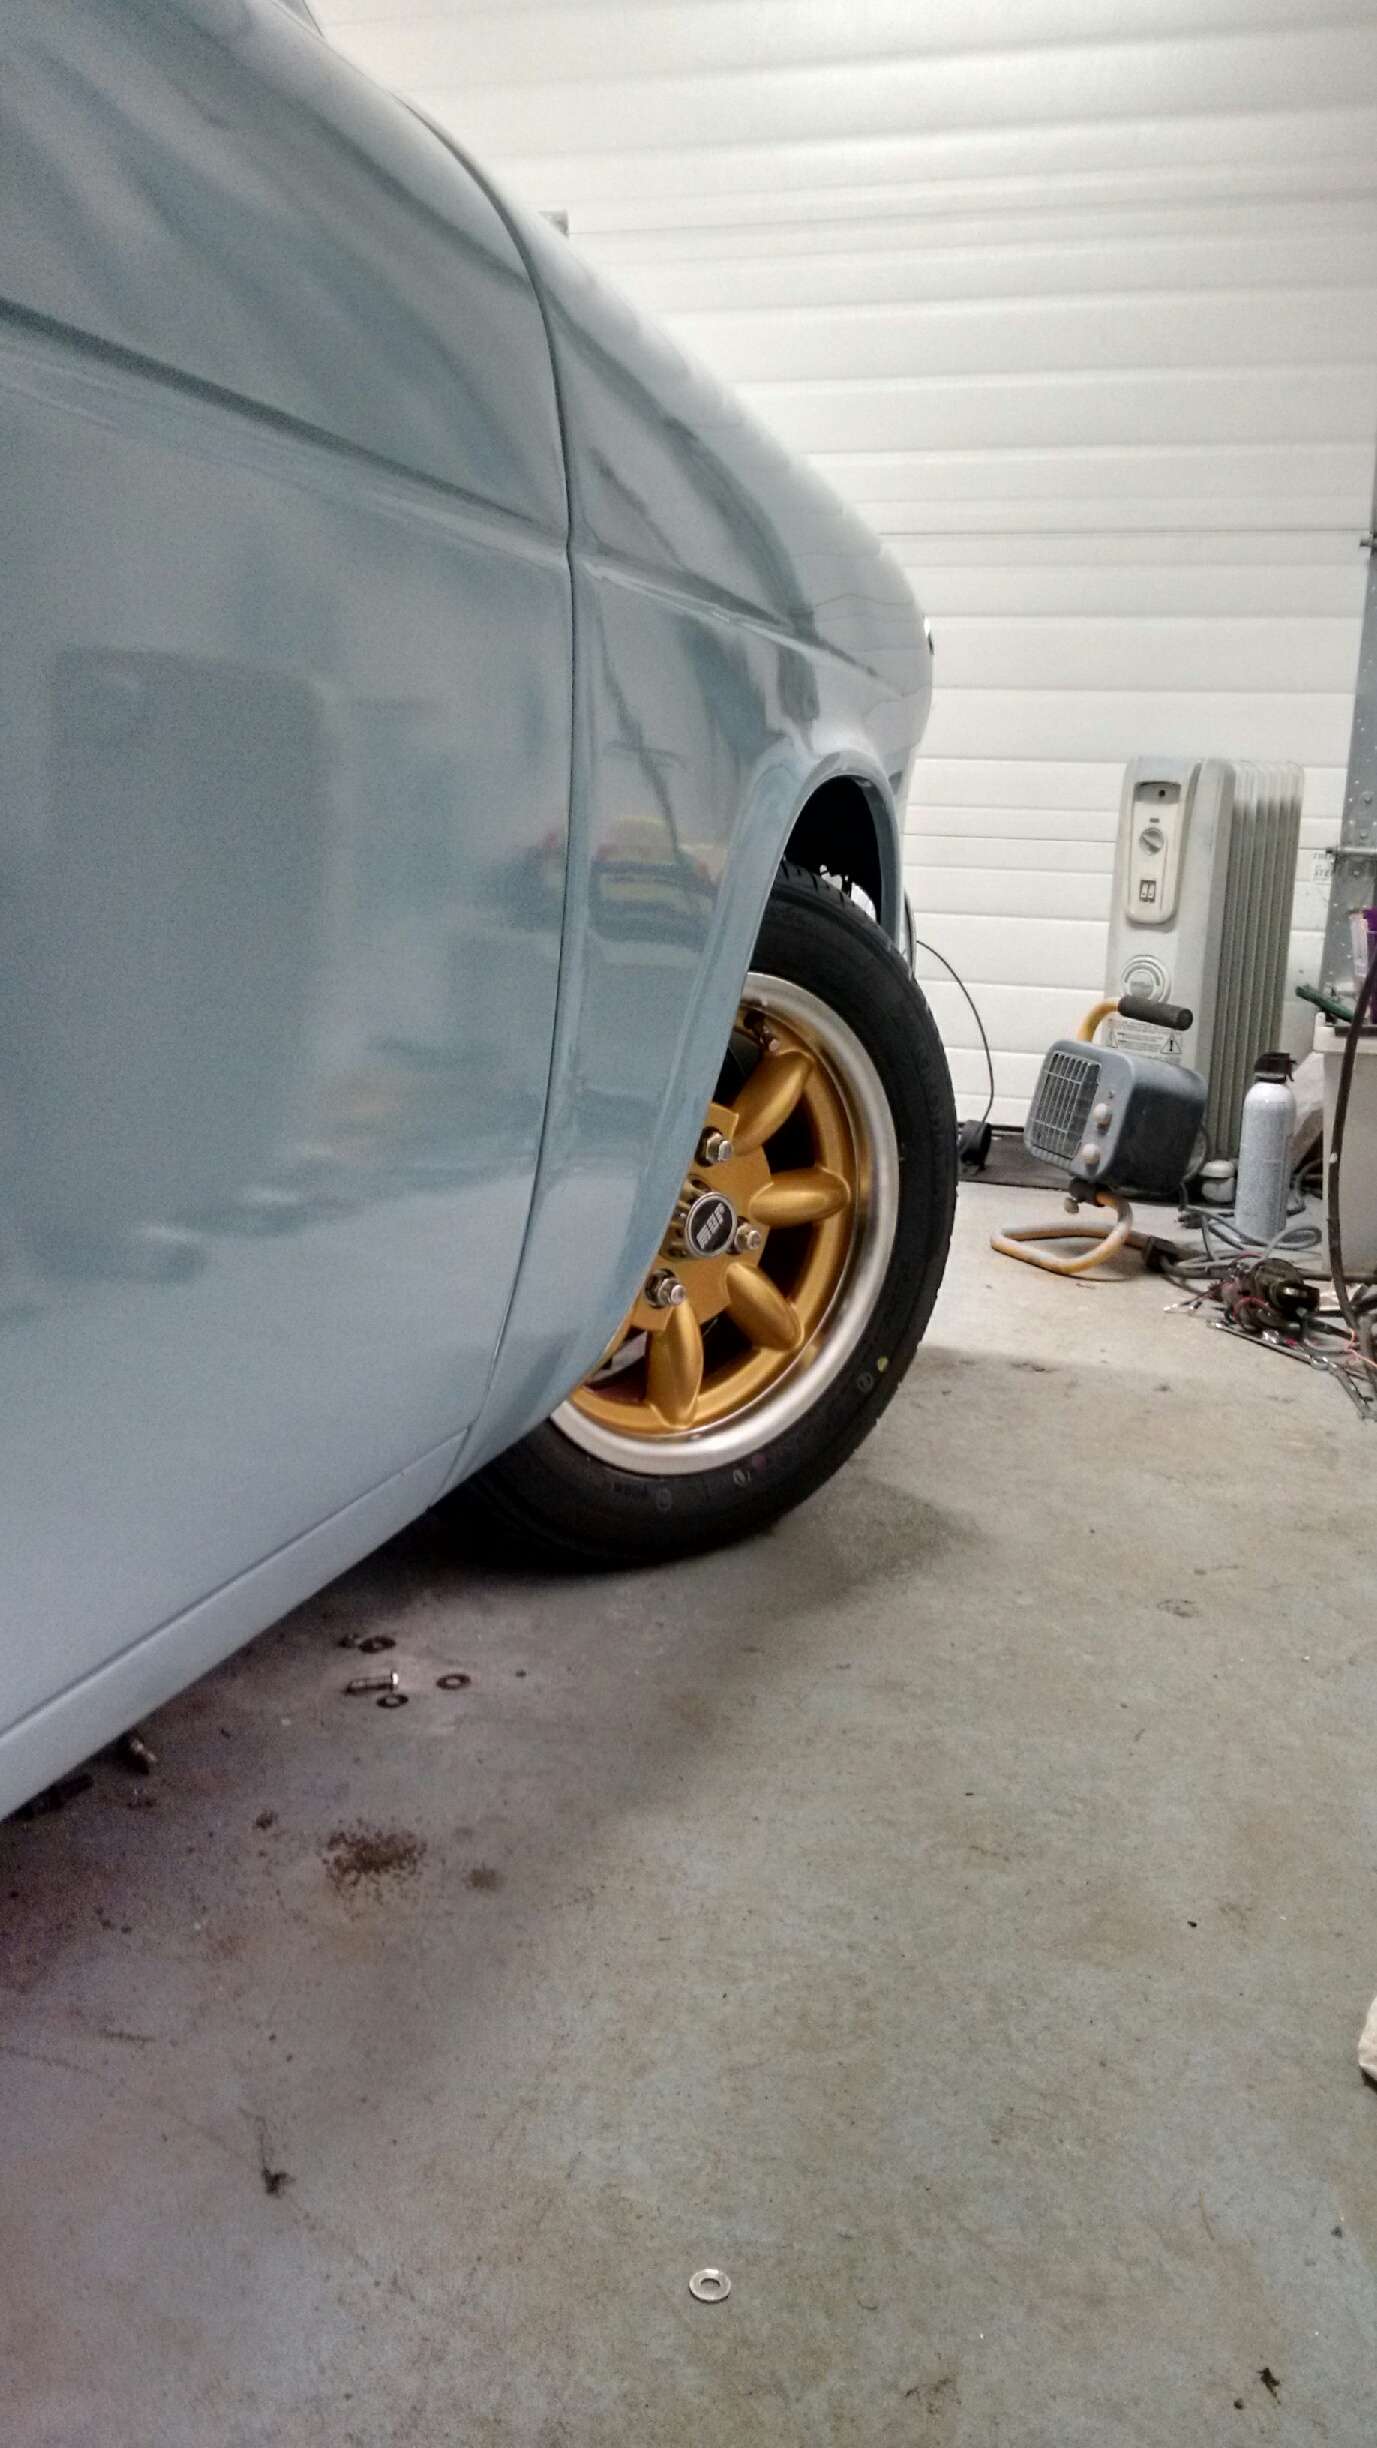
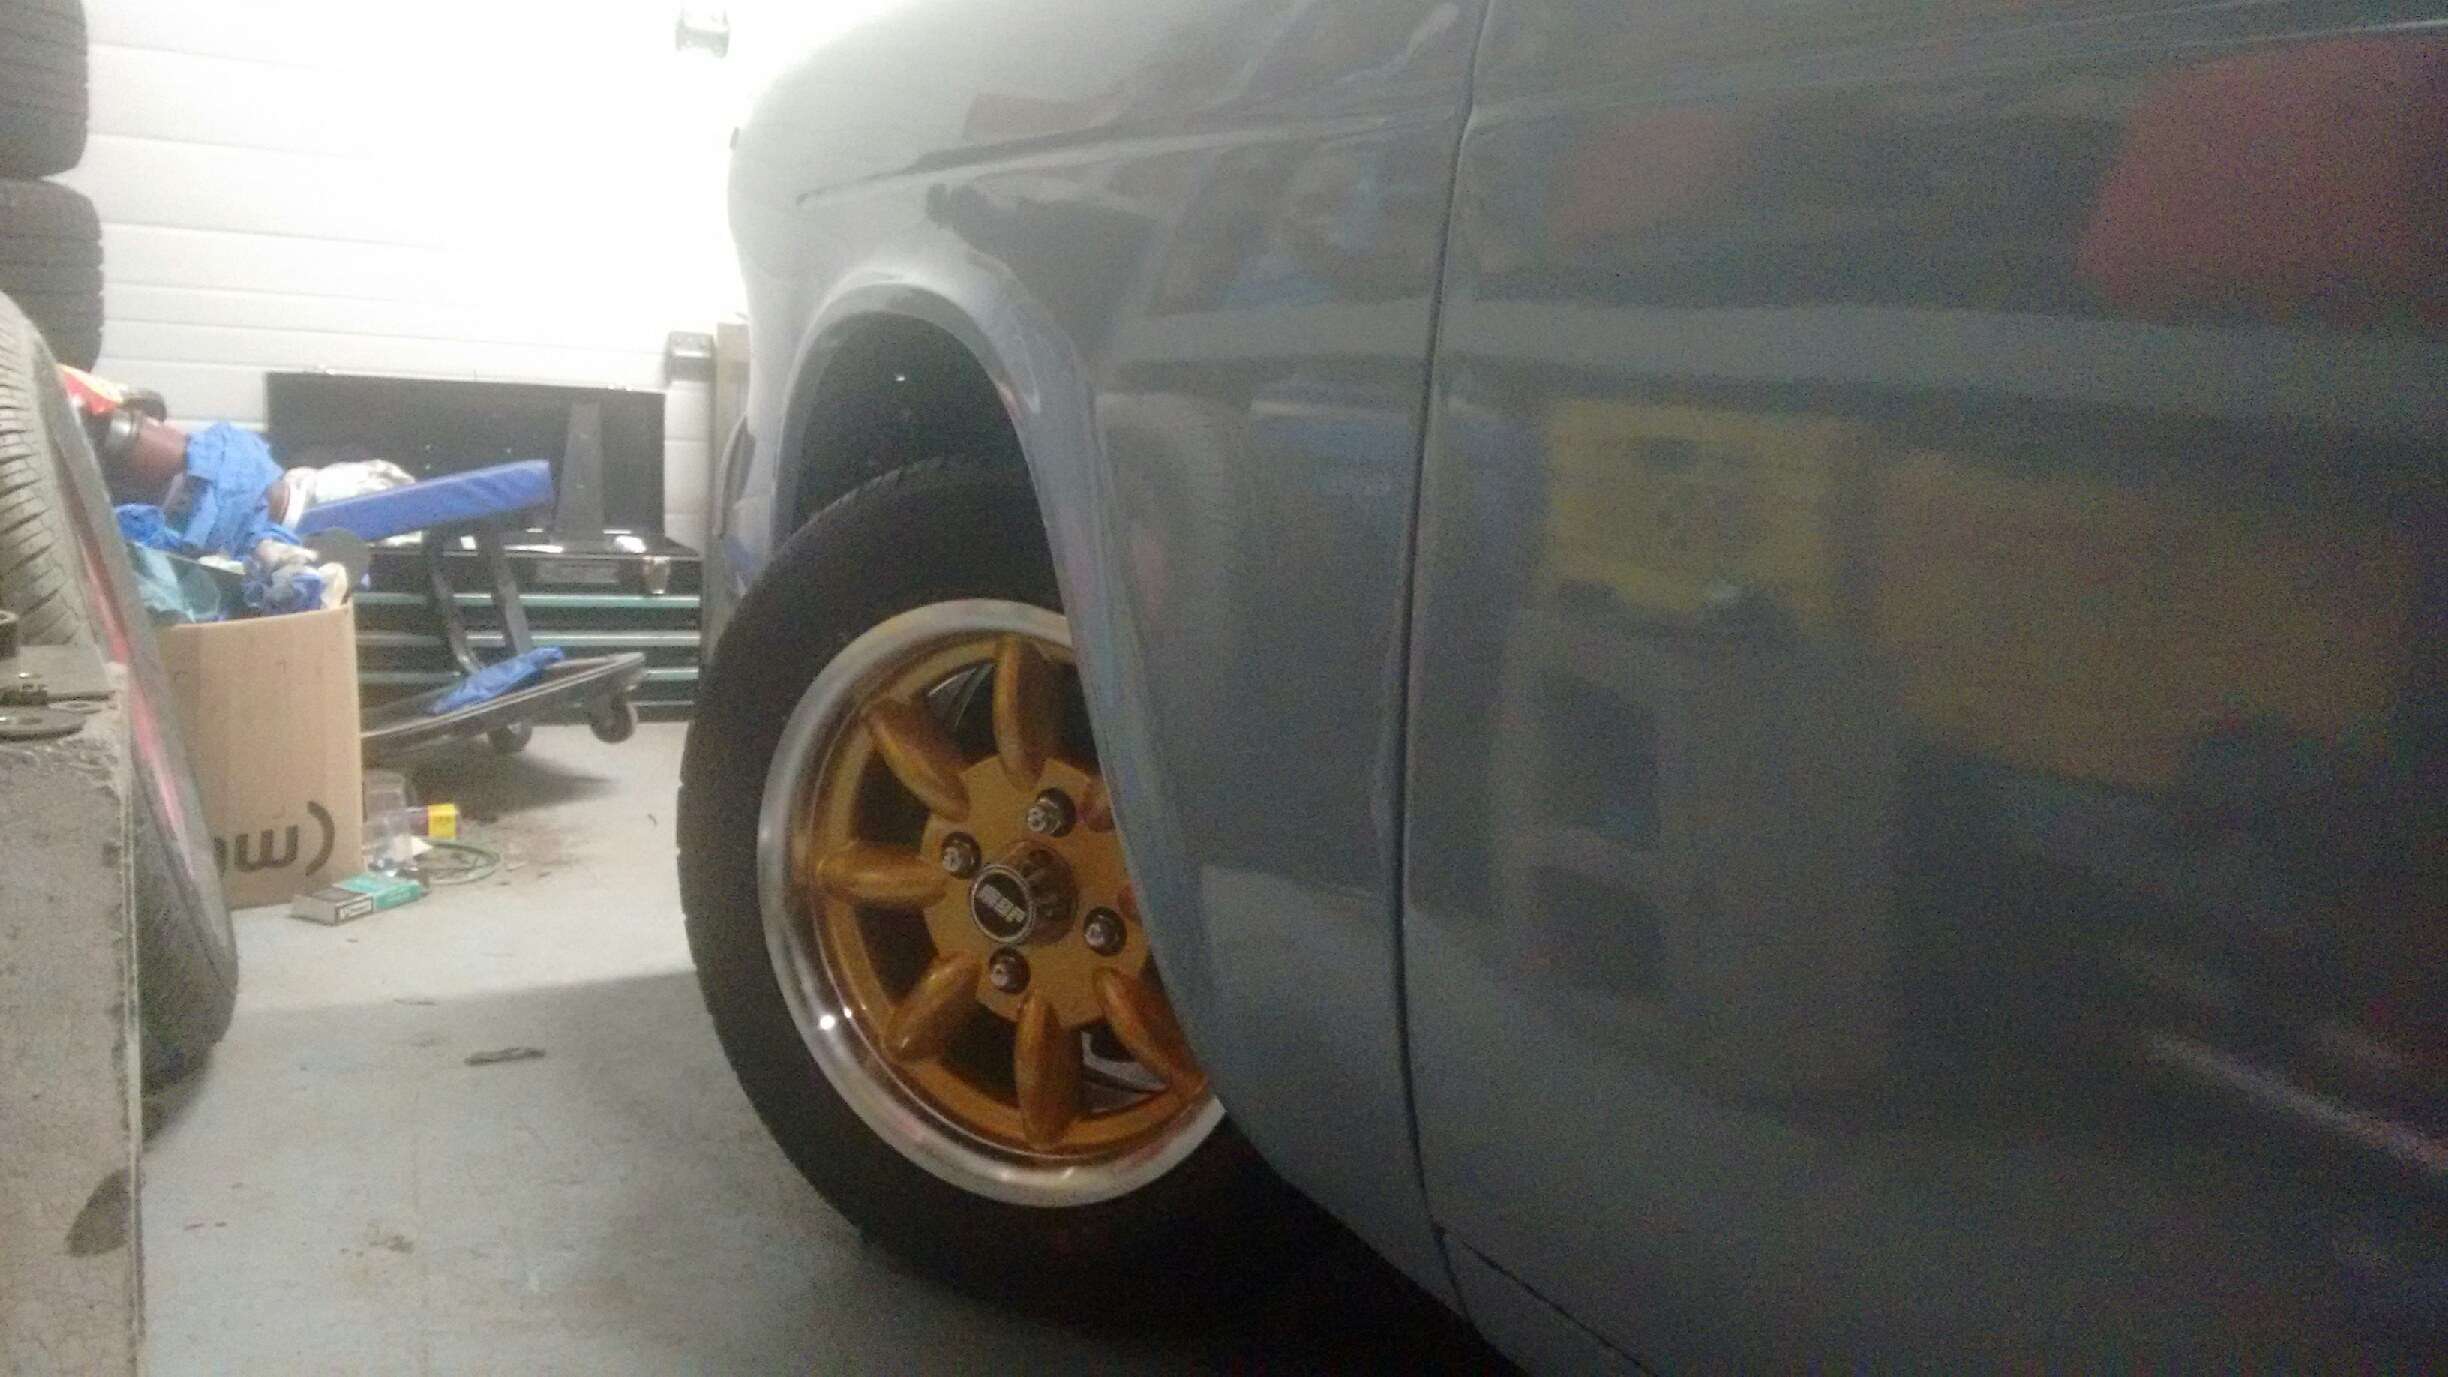
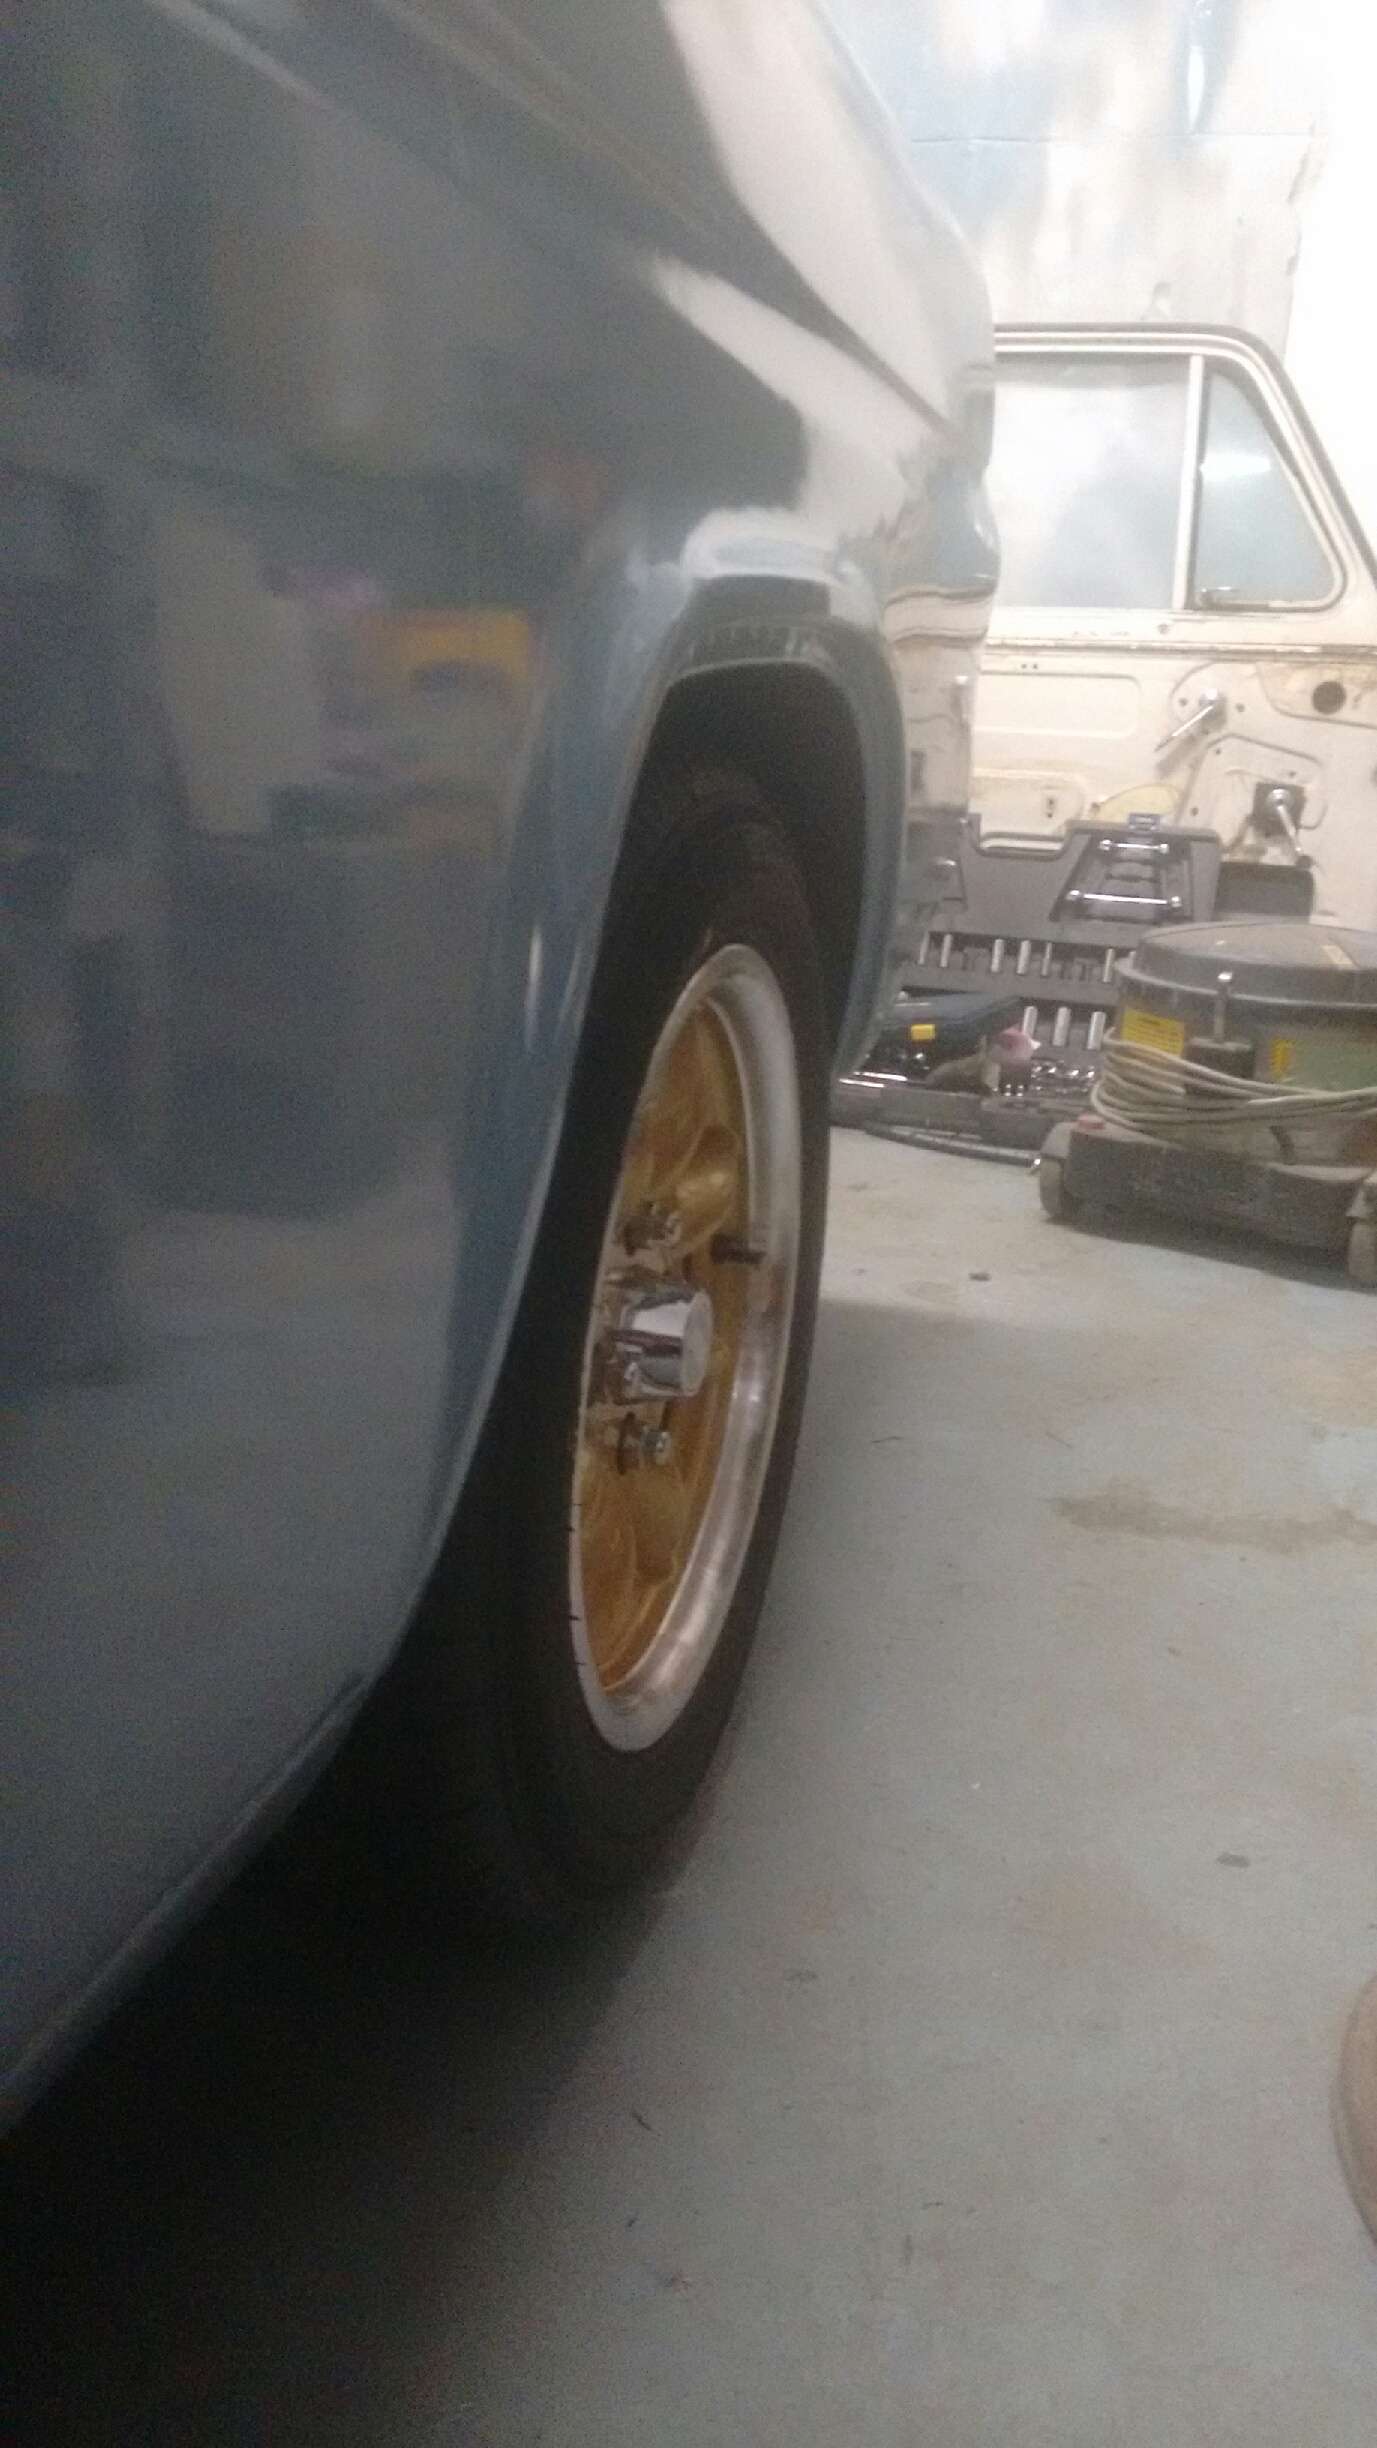
Yes sir, got them mounted and balanced courtesy of JBW. Went 13x6 with 175/60/13 Yokohama A539
Posted: Tue Feb 20, 2018 9:40 pm
by Brett Wilkie
That is getting pretty close to the stretch limit for that rim/tire combination. I bet it makes the profile a bit low.
Posted: Fri Mar 09, 2018 10:33 pm
by Langlia
Posted: Sat Mar 10, 2018 11:59 am
by peteleo
Enjoy watching your progress, coming along very nice.
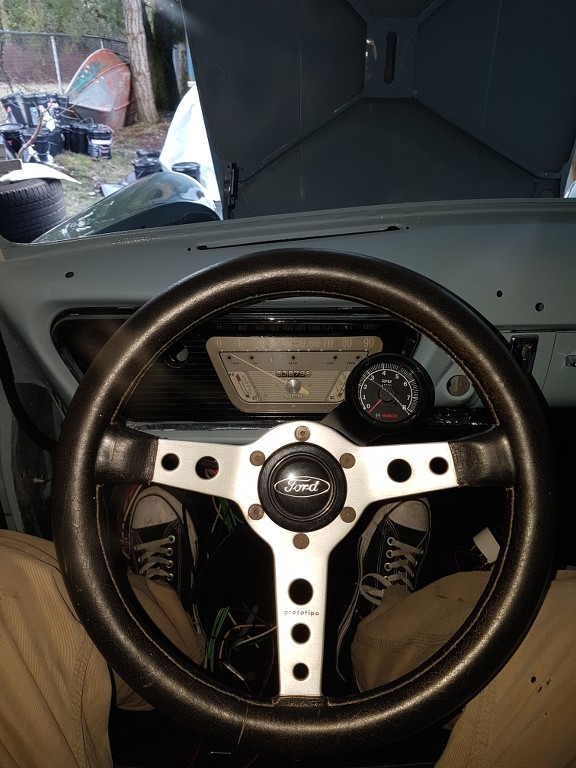
Have you considered placing a spacer between the steering adapter and wheel ? It's a bit uncomfortable having the s/wheel so close between the knees i.e. during braking. I had the same issue so i had a spacer made to lift the s/wheel a bit. Pete

Posted: Sat Mar 10, 2018 1:24 pm
by Brett Wilkie
Now you just want to go out and drive it.
Posted: Sat Mar 10, 2018 11:28 pm
by Langlia
peteleo wrote:Enjoy watching your progress, coming along very nice.
Have you considered placing a spacer between the steering adapter and wheel ? It's a bit uncomfortable having the s/wheel so close between the knees i.e. during braking. I had the same issue so i had a spacer made to lift the s/wheel a bit. Pete
I like your wheel.
This is a smaller one I got, doesn't feel particularly close to the knees.
I'm 5'10" so it doesn't feel too cramped. Time will tell
Picked up a 3.89 CWP today. Got the driveshaft rebuilt and back on the car and there's too much play in the 4.12.
Going to Mopac this week with my master and slave to get a hydraulic hose for the clutch. Bleed it out and should be ready to pull out of the garage!
Need a new Bosch rotor and cap though.. so many options on Burton. Anyone have any thoughts?
Seems like a simple order. All three rotor arms look identical
Posted: Sun Mar 11, 2018 1:26 am
by Brett Wilkie
I would go for a side entry cap with your Webers to make things easier but make sure it all fits your distributor
http://www.burtonpower.com/distributor- ... 45830.html
Posted: Fri Mar 16, 2018 7:48 pm
by Langlia
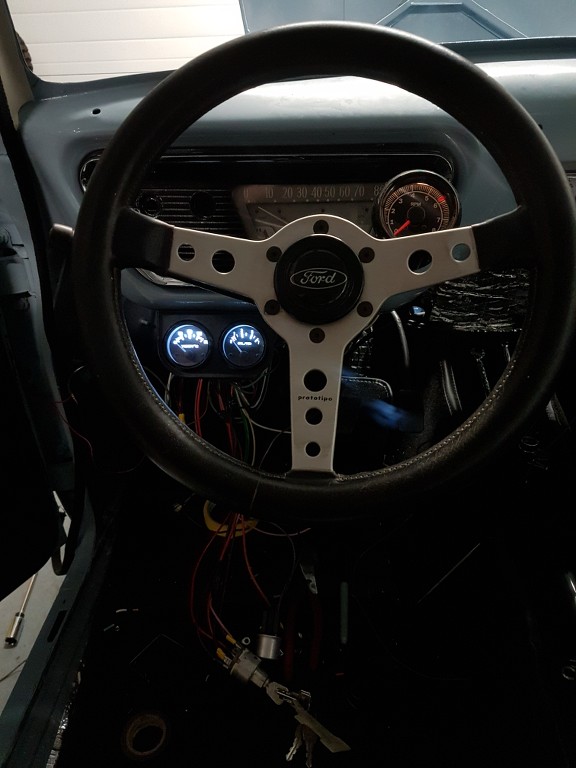
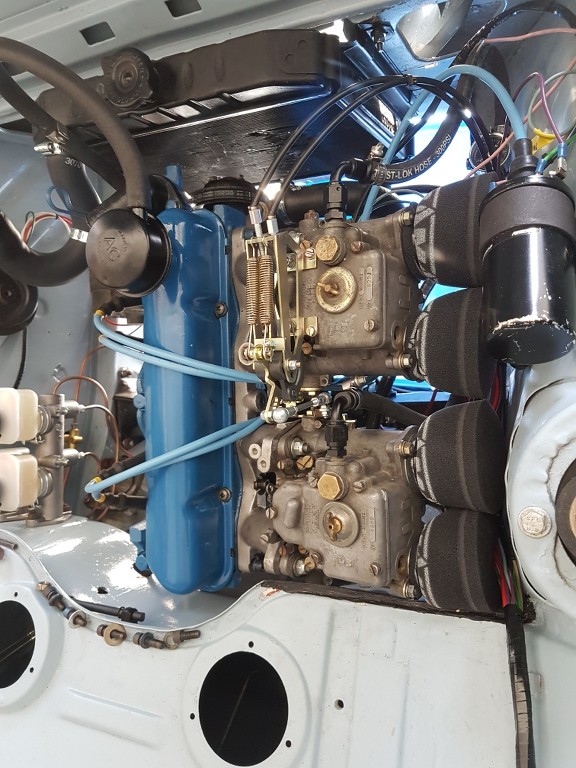
Ram Air Foam Filters on, had to trim to size, simple enough to do, nice and thick but seem to breathe quite easily.
Got the OBP 3/4 Clutch Master installed and Hooked up to my Mysterious Slave Cyl, Got a 26" Goodridge hose with 3/8 UNF and M10x1 Adapter fittings on both ends. All bled out and installed, Fabbed up a small bracket piece to connect push rod to the brake pedal.
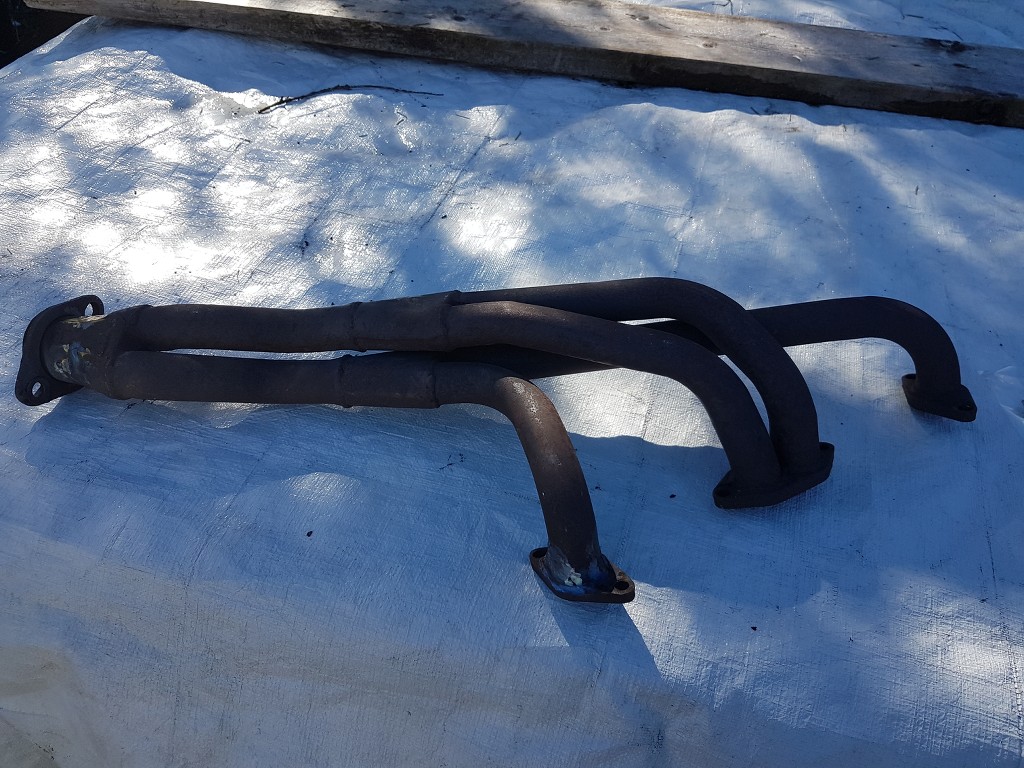
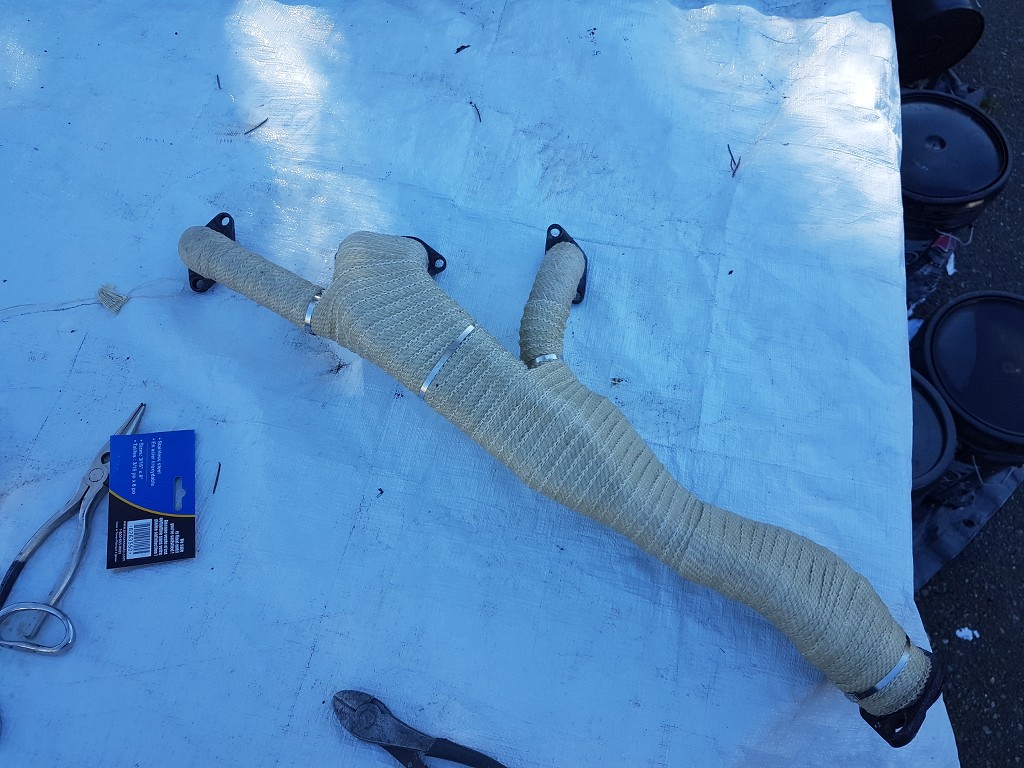
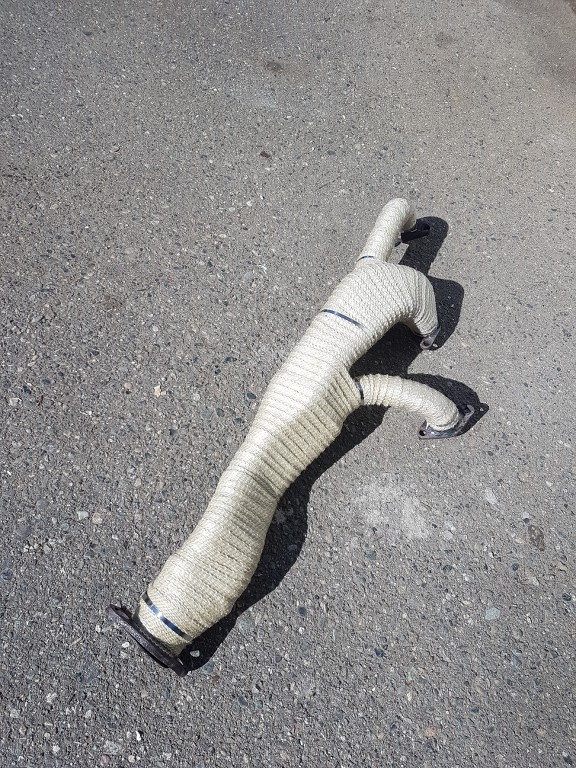
Header has been repaired and wrapped. Was getting quite hot in the engine bay on the initial start, bubbled part of the paint where it was closest to the bulkhead, figured for a few extra dollars spruce up the pipe and bring down the heat.
My package from Burton showed up about 30 minutes after I left...
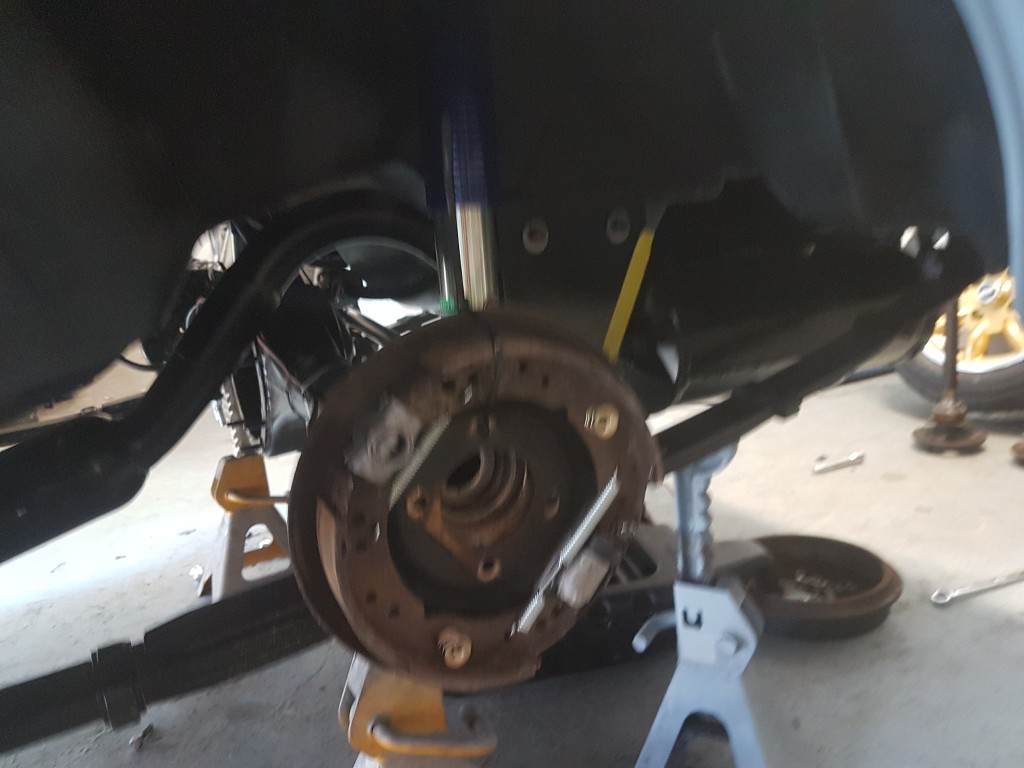
Tommorw will be the Ashley exhaust install, new cap and rotor, window seals for the rears and if time permits get the centre section back in along with the half shafts and move the car out of the garage under its own power for the first time.
Posted: Fri Mar 16, 2018 10:09 pm
by peteleo
I would suggest not wrapping headers. It does keep the heat in the headers but the draw-back it will crystallize the mild steel headers in a short time.
It also causes rust problems as it holds moisture in. Best way would be to make a protective shield between the headers and bulkhead.
I've done an article on the pros and cons of wrapping headers:
https://englishfordparts.blogspot.com/2 ... -wrap.html
You can also goggle articles on " wrapping headers "
Posted: Sat Mar 17, 2018 4:46 pm
by Langlia
Scary stuff. Did some reading today will probably get a can of VHT and some heat shield
Posted: Fri Mar 23, 2018 8:24 pm
by Langlia
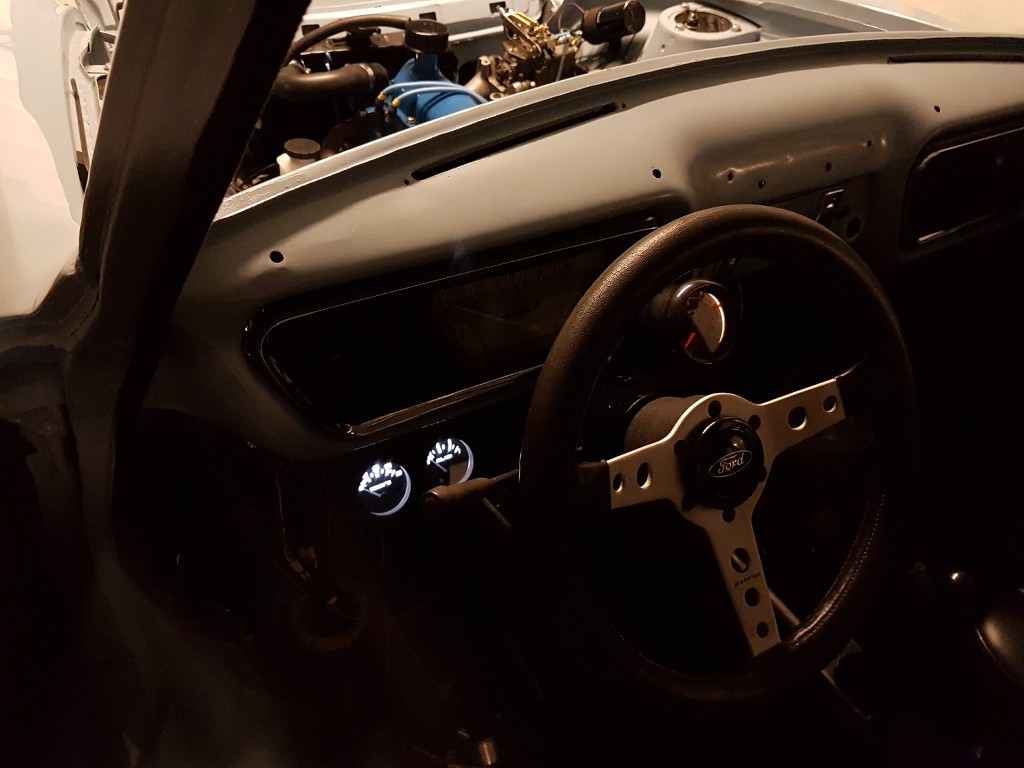
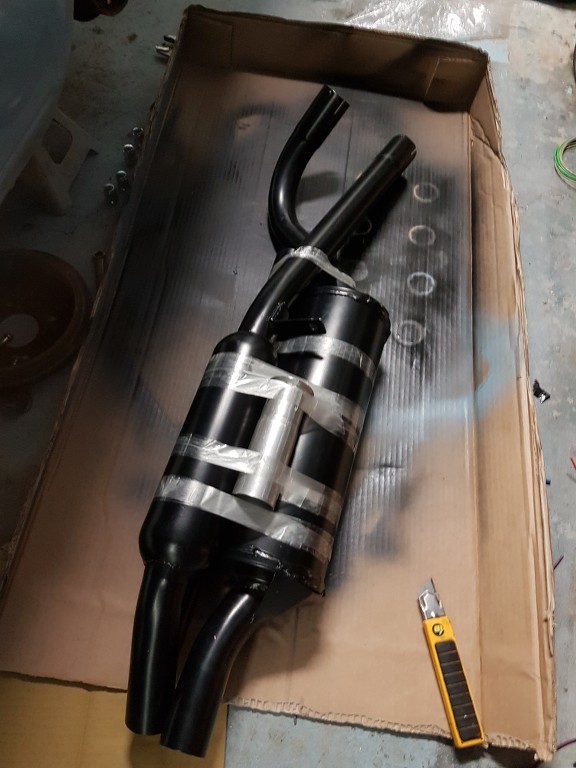
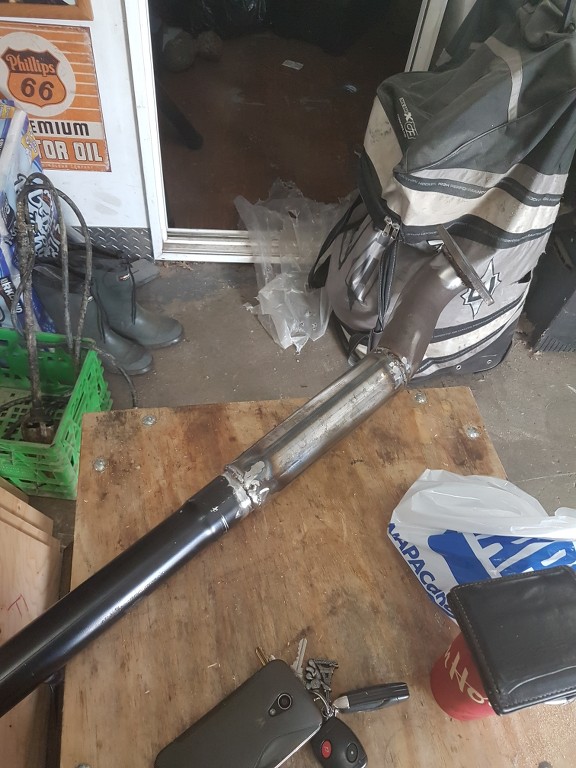
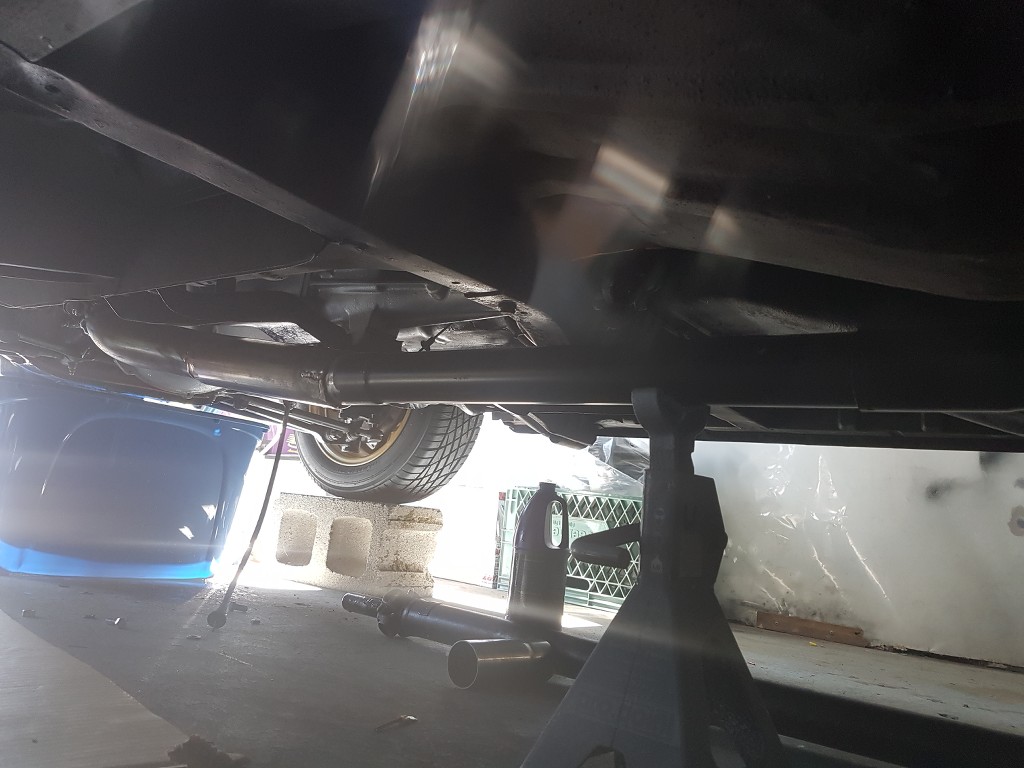
Ashley exhaust is in, made adapter pipe..
Clutch still needs to be adjusted, not fully disengaging when clutch pedal pressed in..
3.9 Diff is in, all new fluids, topped up gearbox, driveshaft in.. still need to repair leaky rad.

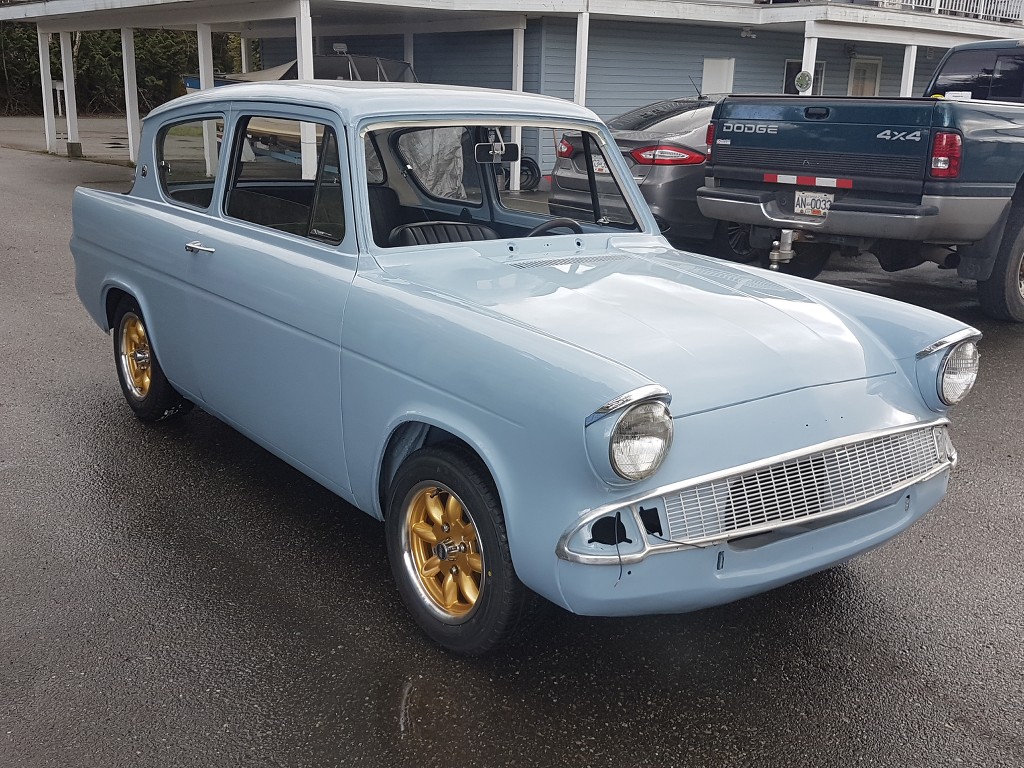
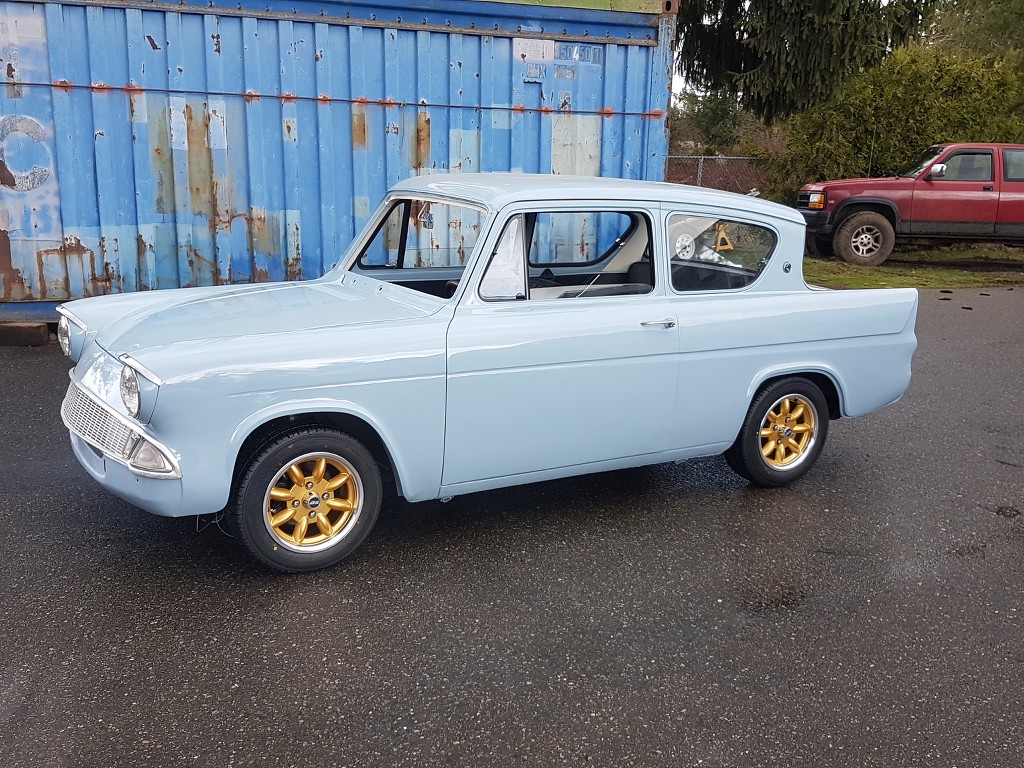
Video of first test drive below. Runs well, sounds good. Put some seafoam in the tank to help out the old carbs, seems to run a lot better now.
Thinking electric fan for the car too.
https://www.youtube.com/embed/ImLcAZzyWw8
Posted: Fri Mar 23, 2018 10:57 pm
by Dave C
I stopped by to see it today. Looks great!
You've done a very good job on it.