Page 1 of 1
GPS speedometer
Posted: Wed Feb 17, 2016 8:32 pm
by mark
this is for Brett, Didn't you post a pic of a GPS speedometer installed in the stock dash pod? I have been searching on both sites with no luck. Can you post a link?
Posted: Thu Feb 18, 2016 12:09 am
by Brett Wilkie
Posted: Thu Feb 18, 2016 4:17 pm
by mark
ahh thanks Brett, I noticed the tach...I never seen that before. At any rate, I am trying to figure out what to do about a speedo. I have a perfectly good speedo that measures the speed way off if connected to the T9 tranny and then the issue with custom cable....I know it can all be sorted out with some $$$...but...
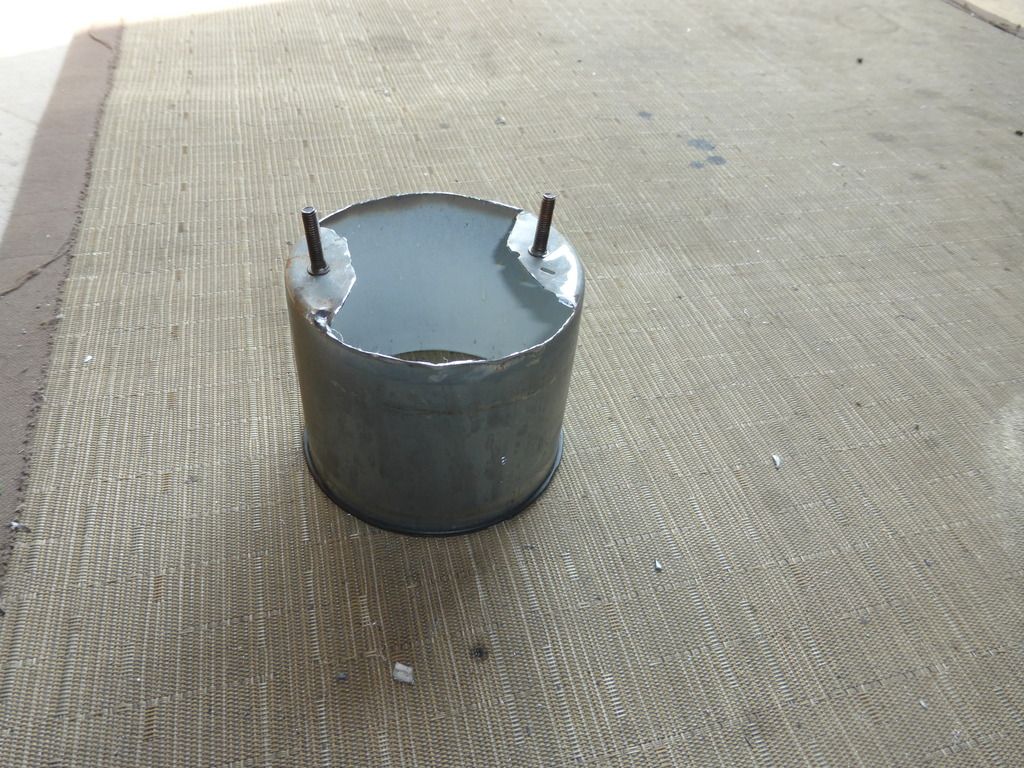
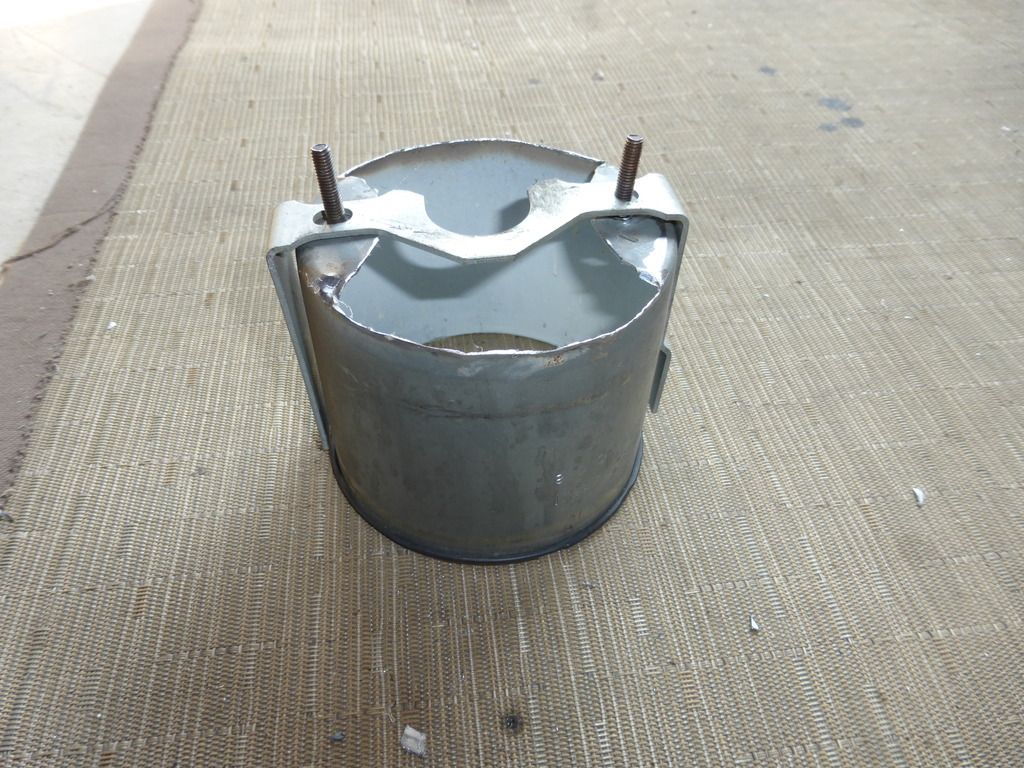
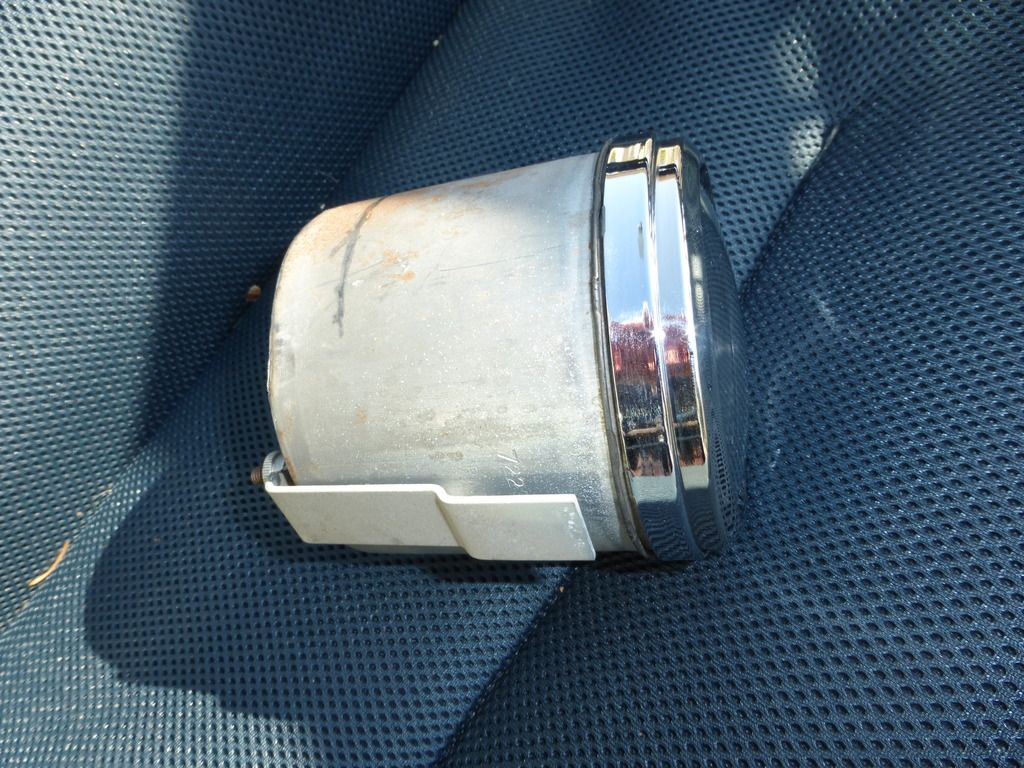
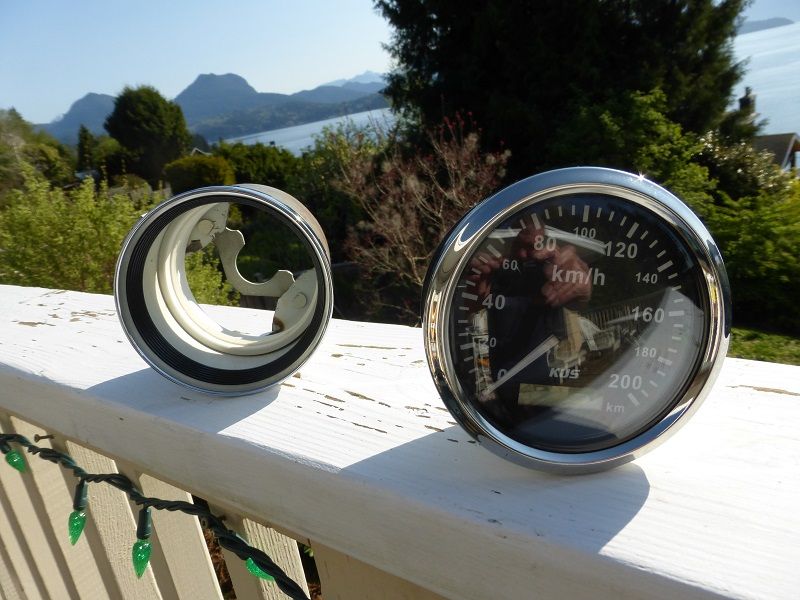
we (my son) has put together a GPS speedo with a broken 100E speedo. He took a $16 RC GPS module, a free stepper motor out of a broken printer, and few other circuitry stuff and created a working speedo that is accurate please see the youtube video.
https://www.youtube.com/watch?v=GfnGo7yzDmA
however it has a couple of drawbacks, you can see the slow refresh rate and no odometer. We want to make a more robust unit but I think by the time we buy a car GPS module ($100??), an automotive speedo motor, and electronic display for the odometer, it may equal out to buying one off the shelf. But to someone that likes the original look, this home built unit looks interesting. will keep you posted on updates.
Posted: Thu Feb 18, 2016 10:00 pm
by Brett Wilkie
Great video, that's using you ingenuity. Who knows maybe my store bought unit won't respond any faster? I haven't had the car ready for the road yet.
Posted: Fri Feb 19, 2016 6:36 am
by mark
Tell me about the tach...which cars had the tach? which leads me to where were the fuel and temp gages located when a tach was present?
Posted: Fri Feb 19, 2016 12:48 pm
by Brett Wilkie
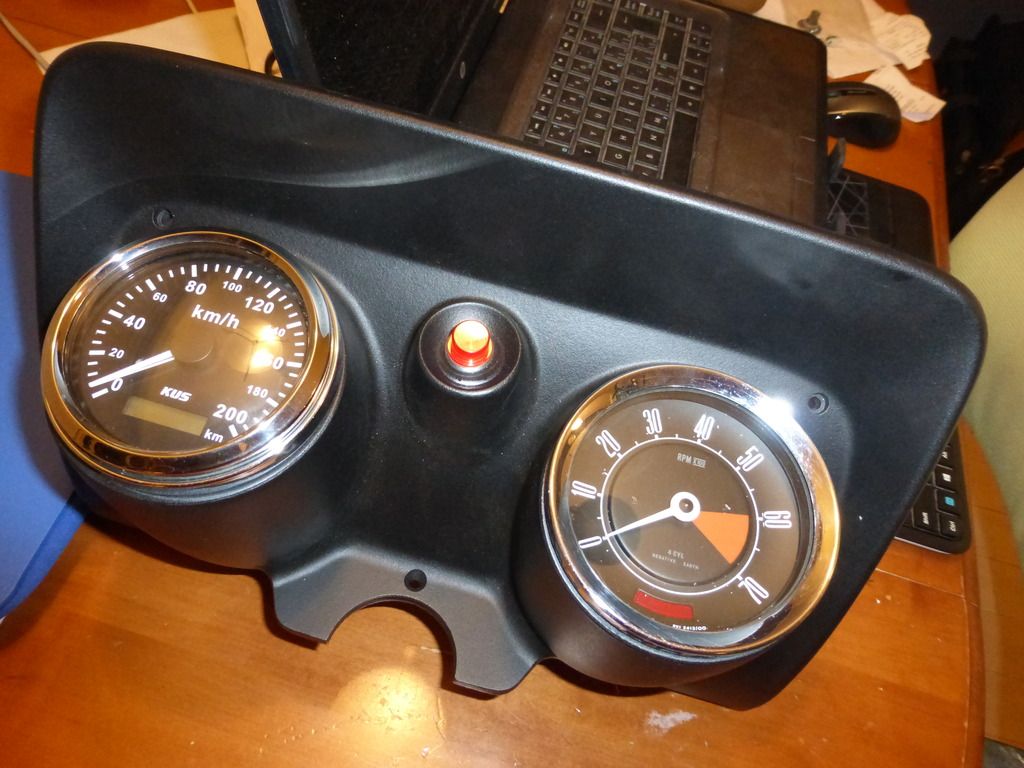
The tach is just a Mk2 Cortina GT unit but I believe that a number of different British makes use a similar dimension tachometer, it's just a matter of what you like.
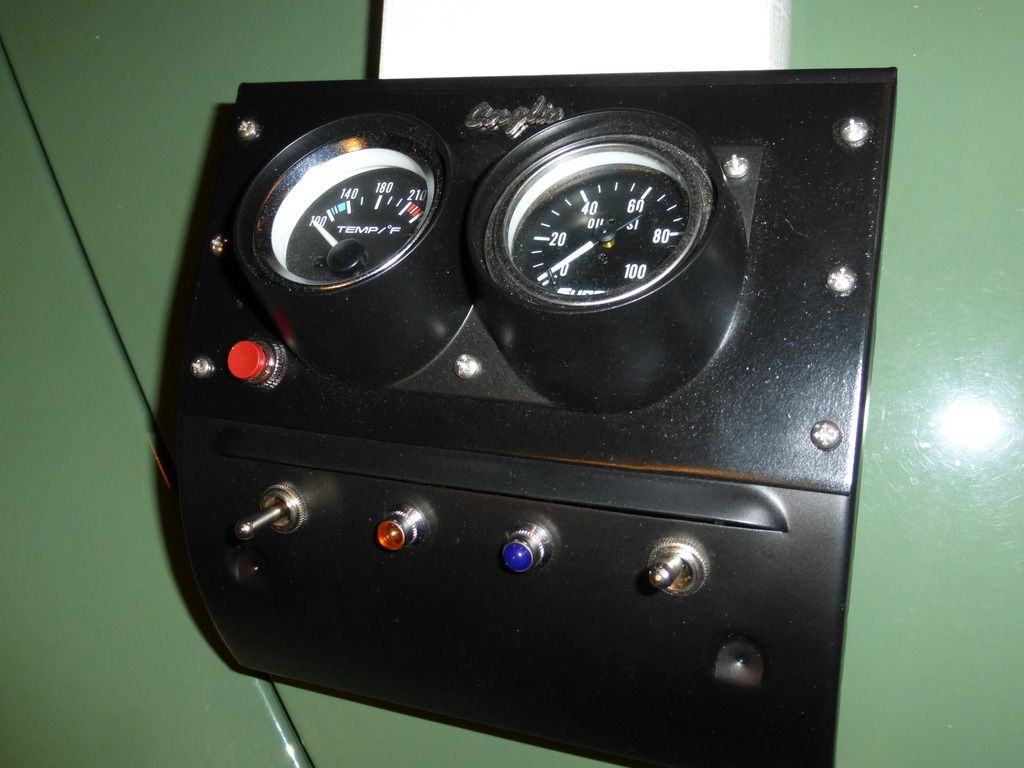
I put my temp and oil pressure gauge in the center section of the dash where the louvers were cut out, the actual two hole pod is a modified part out of a Mk1 Cortina GT that I screwed to a plate and then screwed that over the louvered area as in that picture below.

As far as a fuel gauge goes I am not going to use one, I am using one of these tanks that does not have a sending unit in it.

I will be using two pumps in the trunk, each one will draw from the tank top through a pipes down into the tank. One pipe goes only 3/4 of the way down and the other goes right to the bottom, when the 3/4 pump starts to run out I just switch over to the other reserve pump.
Posted: Sat Feb 20, 2016 4:03 pm
by mark
all the gauges look great, your handy work makes it look like it belonged there from the beginning.
Your two level pick up in the gas tank is reminiscent of the pre '62 VW reserve gas lever handle I remember so well. (probably you too !!)
Posted: Sat Feb 20, 2016 10:32 pm
by Brett Wilkie
Thanks, I actually did get the idea from the old VW Beetle days. I remember that little lever you could kick over with your foot.
