Page 3 of 6
Posted: Fri Sep 22, 2017 11:11 pm
by Langlia
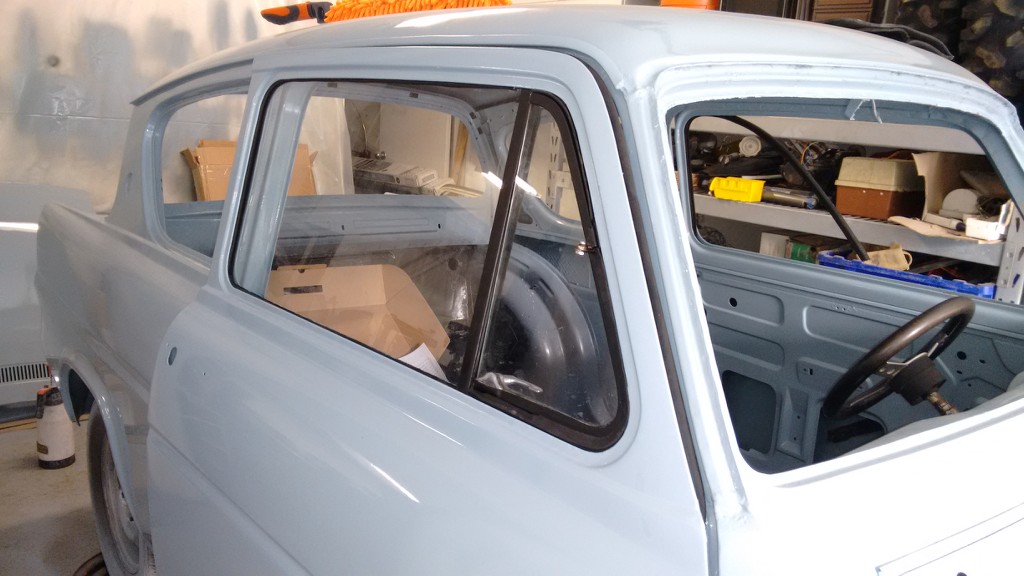
Got the proper seals for the top half of the doors now.. they close.
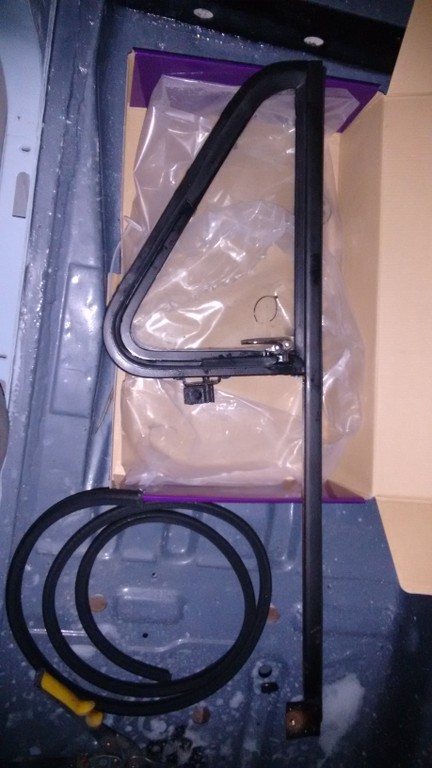
Replaced both 1/4 Window Seals. What a bitch.
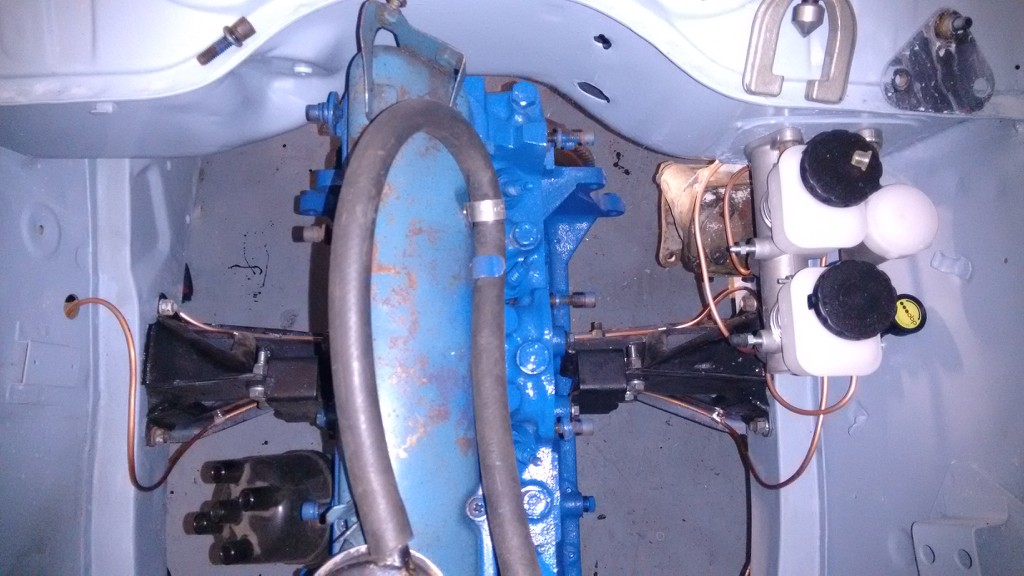
Brakes are done, all bled.
Replaced the clips that hold the felt in the window.
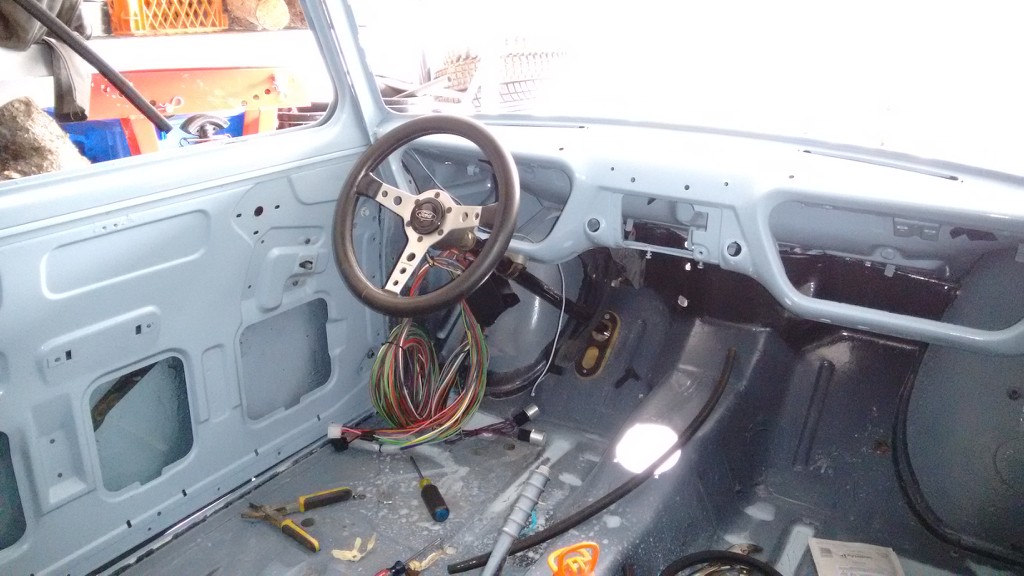
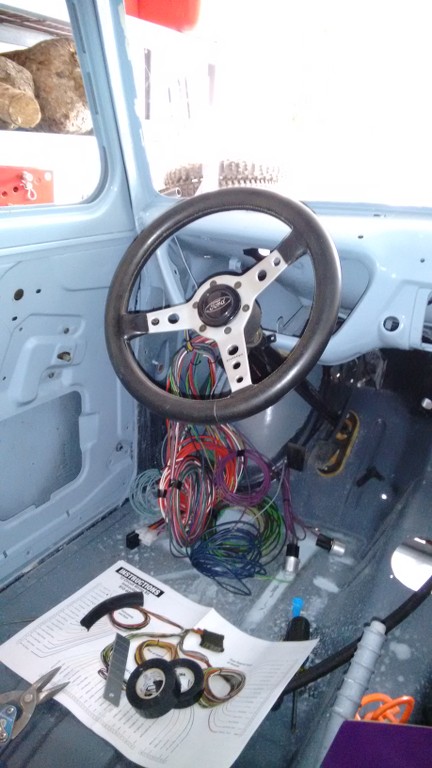
Started running aftermarket 12 circuit wiring harness.
Dave dropped me off a steering wheel.
Glass is back in both doors, they are pretty much done.
Full interior kit from Aldridge arrived a few weeks ago, looks great. Still need headlining to go in, then will start putting glass back in.
Posted: Fri Sep 29, 2017 8:52 pm
by Langlia
Posted: Fri Sep 29, 2017 9:48 pm
by Brett Wilkie
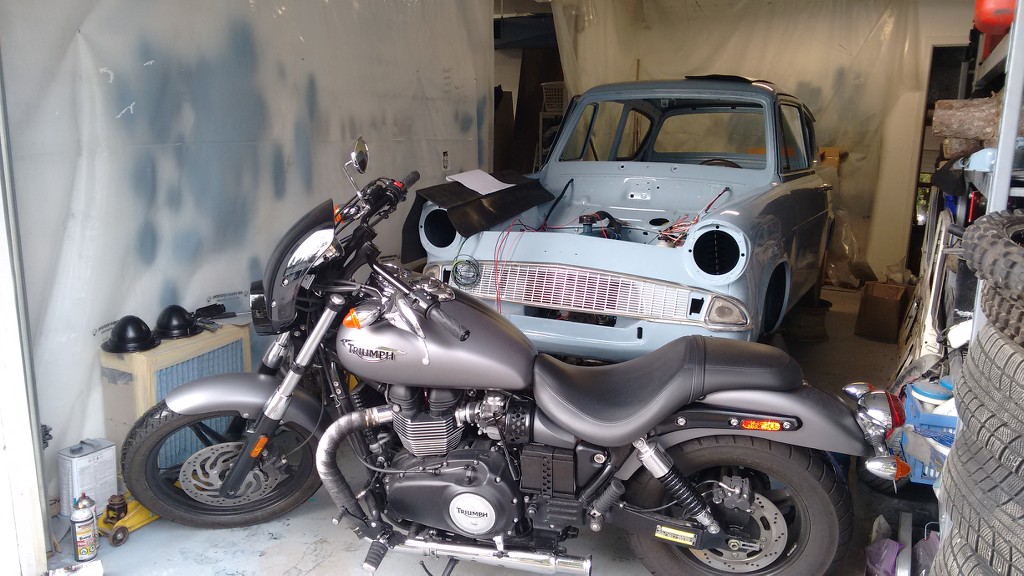
The Anglia looks like it's turning out well, a real triumph for you

I hope that you don't spend much time under the car with only those cinder blocks between you and pain?
Posted: Sat Sep 30, 2017 9:13 am
by Langlia
So witty!
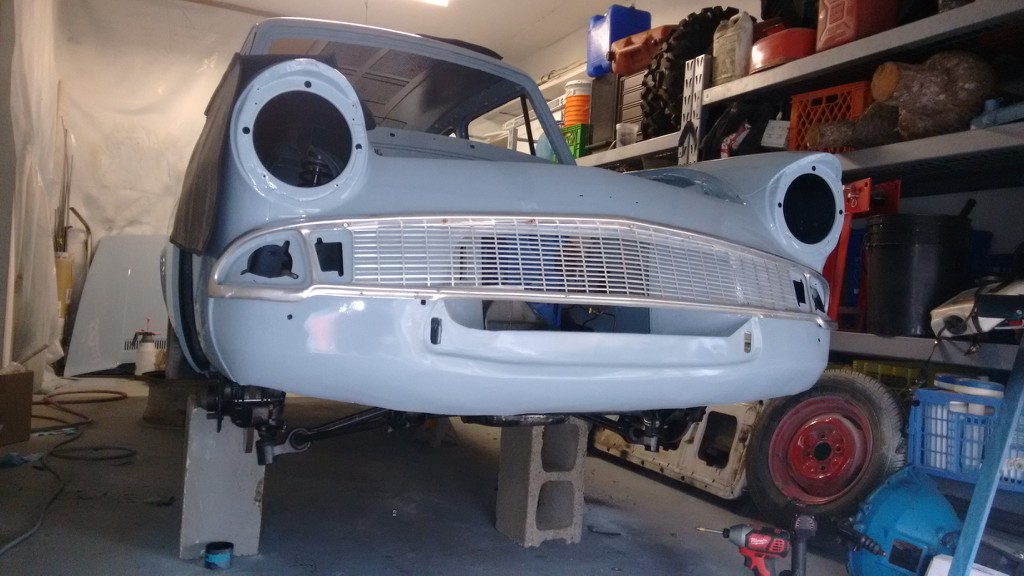
Took me a while to straighten the grille yesterday, had to modify the mounting tabs to pull it nice and tight to the body.
The cinder blocks are insurance. 4 jack stands and the rear tires are on sitting on wheels.
Posted: Sat Oct 28, 2017 6:39 pm
by Langlia
Posted: Sat Oct 28, 2017 7:01 pm
by peteleo
Coming along very nicely. Headliner could be a bitch to put in, at least for me This one looks sharp.
Posted: Sat Oct 28, 2017 7:51 pm
by Brett Wilkie
It looks good to have the headliner in, I was too lazy to get mine done so I will be going naked.
Posted: Sat Oct 28, 2017 8:04 pm
by Brett Wilkie
I forgot to say, what are you doing for a slave cylinder?? It might be a good solution to the stock/original item??

Posted: Sun Oct 29, 2017 8:25 am
by Dave C
Coming along very nicely. Headliner looks very good.
Dave.
Posted: Sun Oct 29, 2017 8:34 am
by peteleo
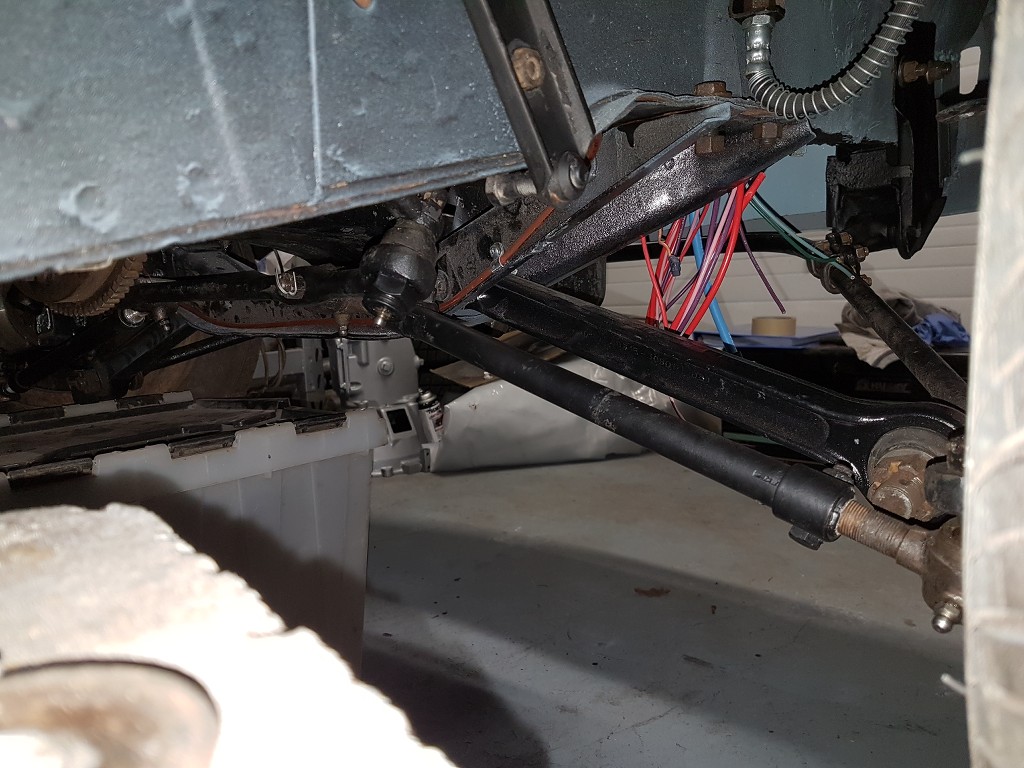
On the MK 2 T/C arms use the 105E T/C stabilizer bush casings. They would need to be cut approx. 1/8" from the ends. Place a washer against the castellated nut. There should be only a few threads showing at the end of the stabilizer.

Posted: Sun Oct 29, 2017 10:44 am
by Langlia
Thanks guys,
It cost $300 to get it done, they came out on their day off.
I'm very happy with the results.
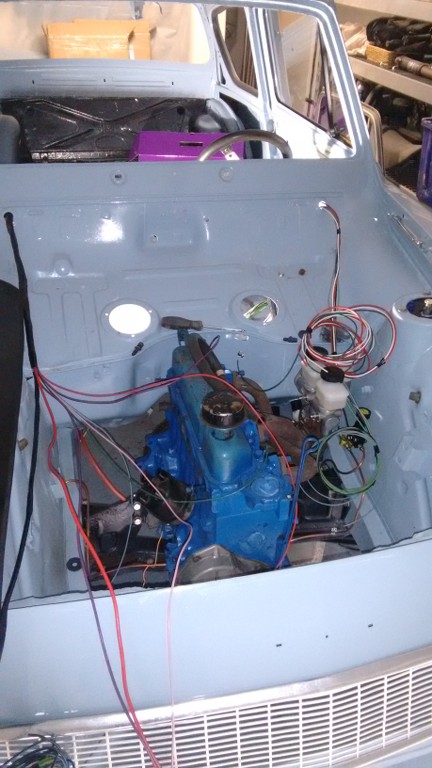
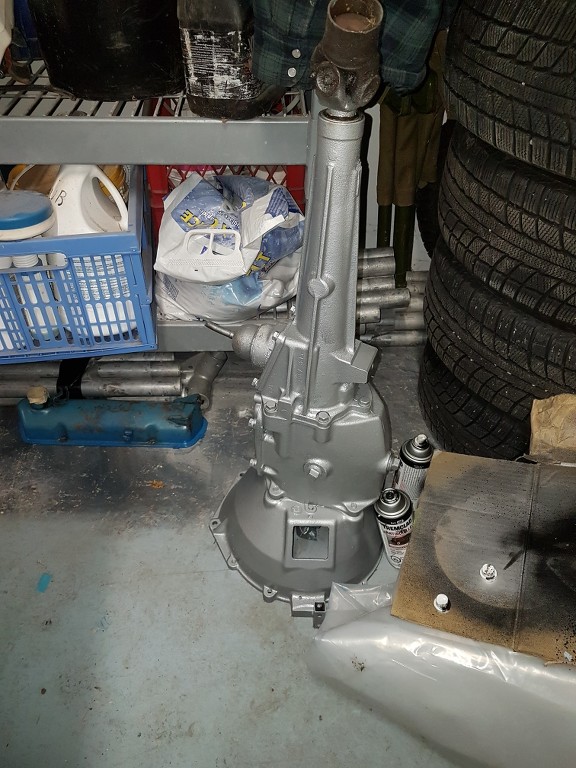
The slave cylinder I have, took it off to paint the gearbox.. as you can see one of the previous owners has modified the gearbox for a different slave.. I'll inspect the other one closer to see what it's all about.
Pete, had another guy on 105Speed mention the bushes as well, thought he was talking about the washers that go on either side but your picture sparked my memory. Going to add to the list. I know exactly where these things are...

Posted: Sun Oct 29, 2017 12:11 pm
by peteleo
Neil, 105speed, mentioned the poly bush kit you can purchase from Milton for 74 pds., but on the hand, you already have the mk2 rubber bushings installed.
So easiest solution would be to use the 105E bush casings which works as a prefect sleeve and spacer. Just be careful not to take too much off the ends.
Start with cutting off 1/16" from both ends. Install and see if you need to grind off more. I finally cut 1/8" from each end.
Posted: Mon Oct 30, 2017 5:17 pm
by ctmandu
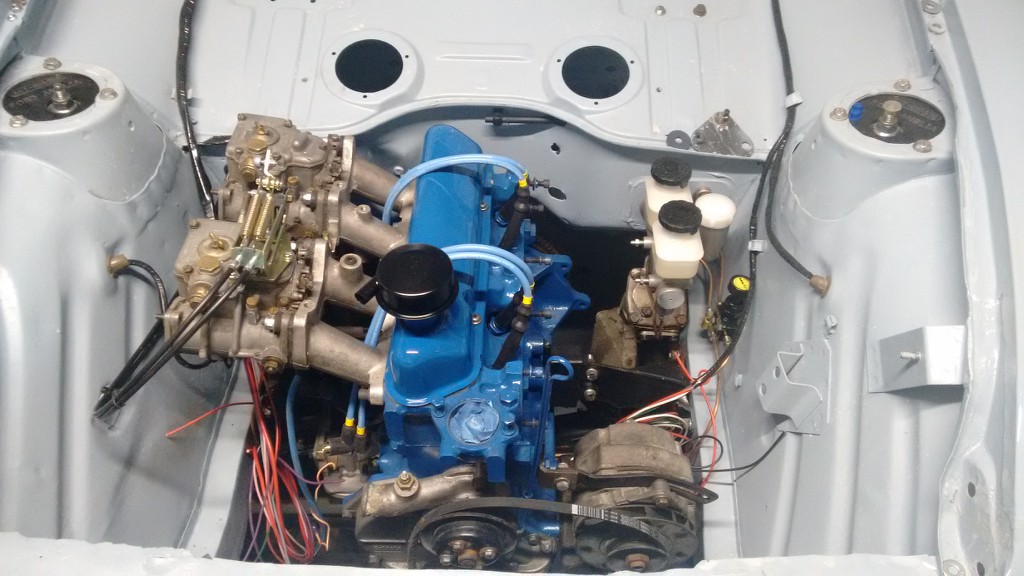
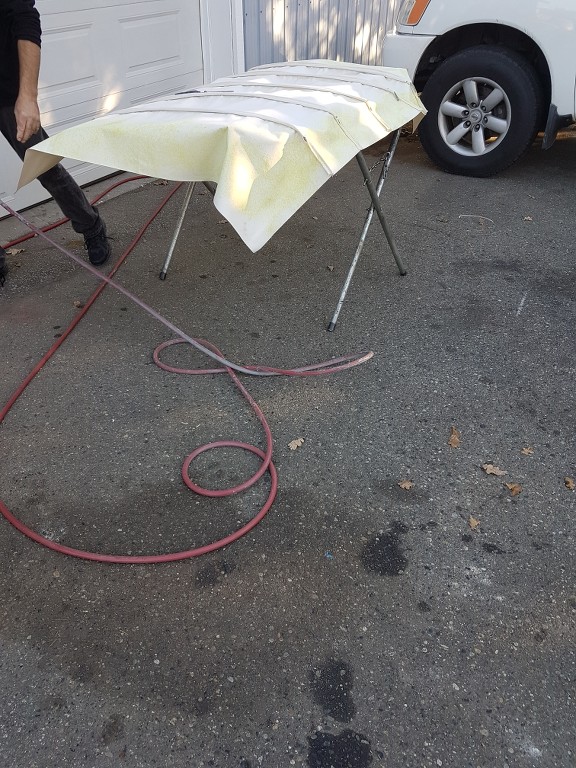
Langlia wrote:Shaved the valve cover, painted it. New gasket..
Degreased and painted the gearbox. Steering is in now, The electrical is coming along.. Still wiring up the dash and rear lights and indicators.
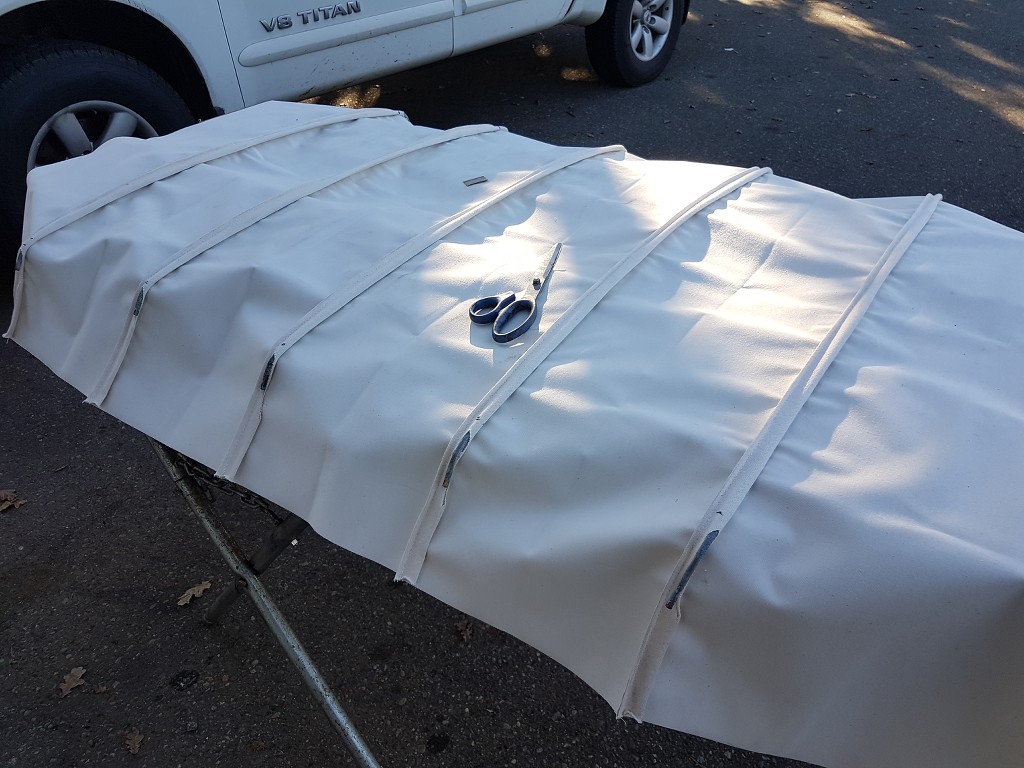
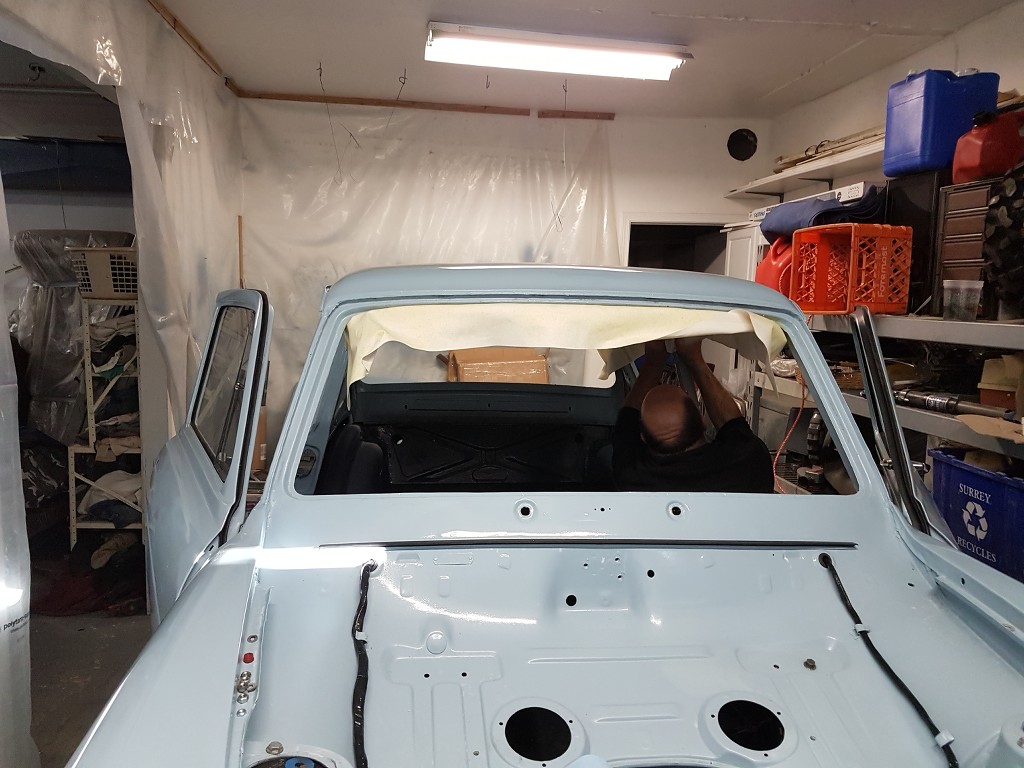
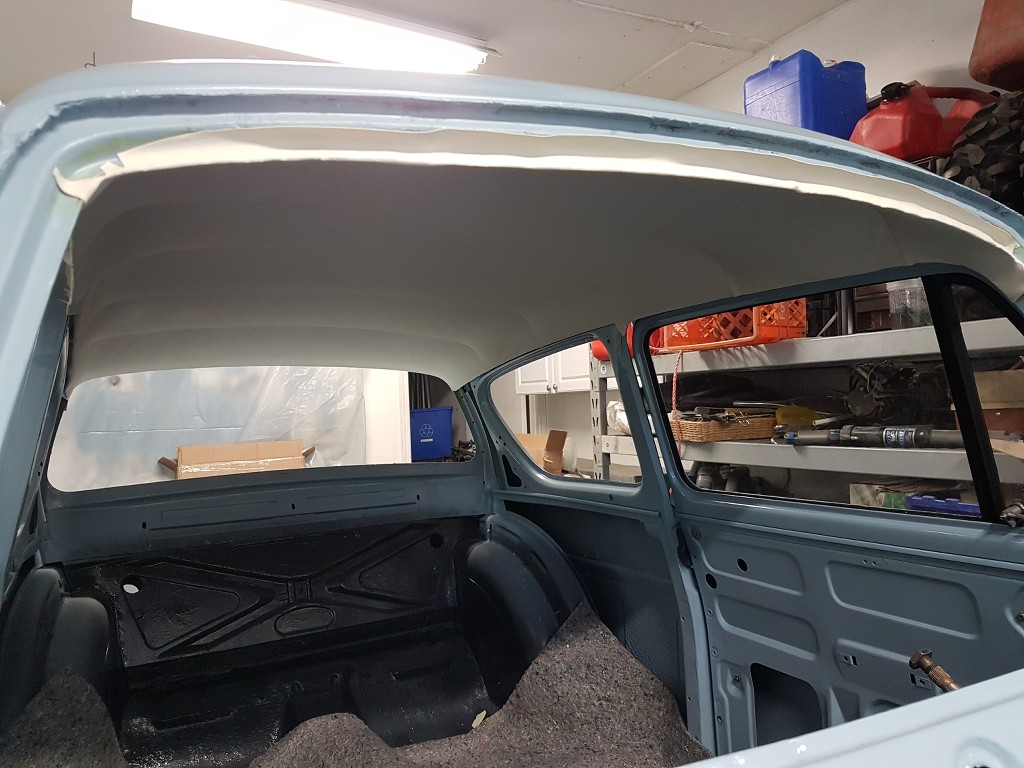
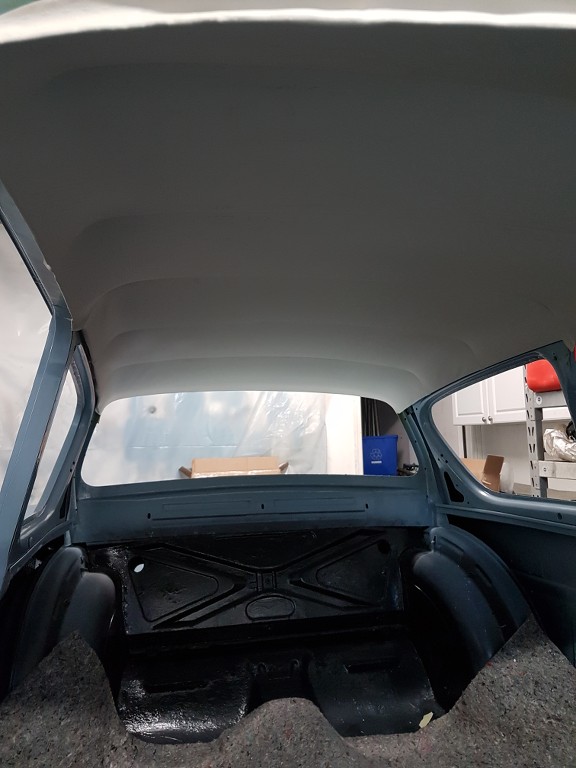
Headliner went in today, took the man about 1.5 Hours. Not bad!
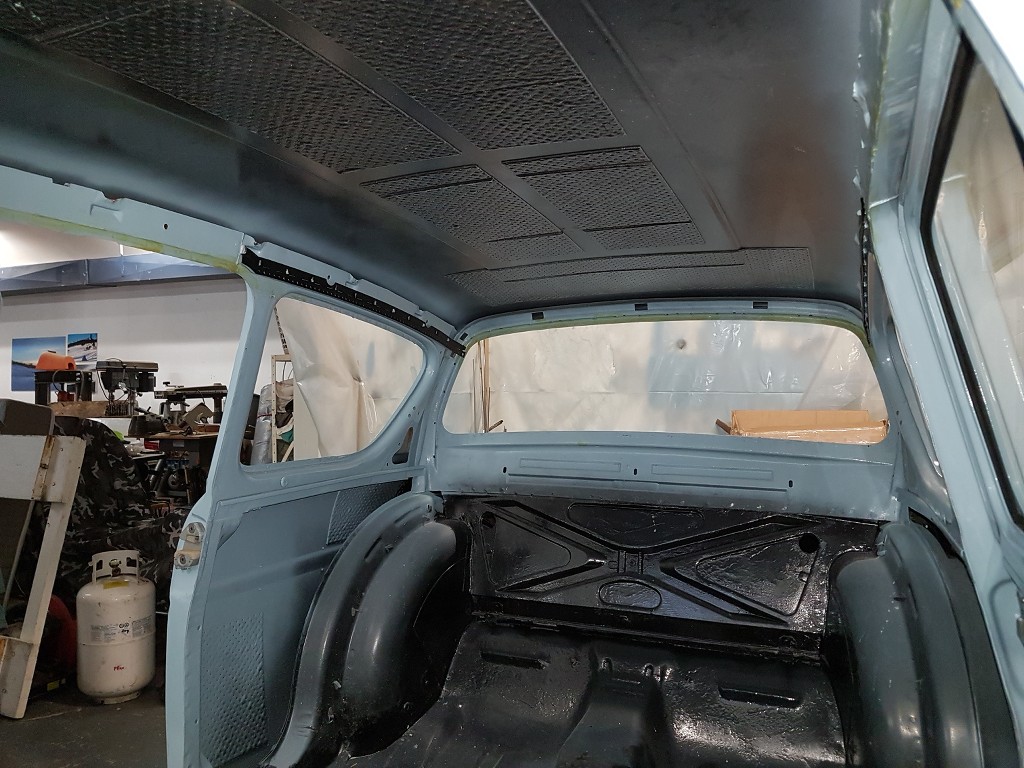
.
Is there a place to get the black trim that goes above the side windows in this photo for the headliner ?
Posted: Tue Oct 31, 2017 10:34 am
by Langlia
Hmm.. Don't know anyone that actually sells reproduction ones. Gonna be a pain to track down.
Part #s are
7050956 and 7050957 Not that it makes a big difference.
Parts manual calls them headliner strips
Posted: Tue Oct 31, 2017 2:34 pm
by ctmandu
ok thank you